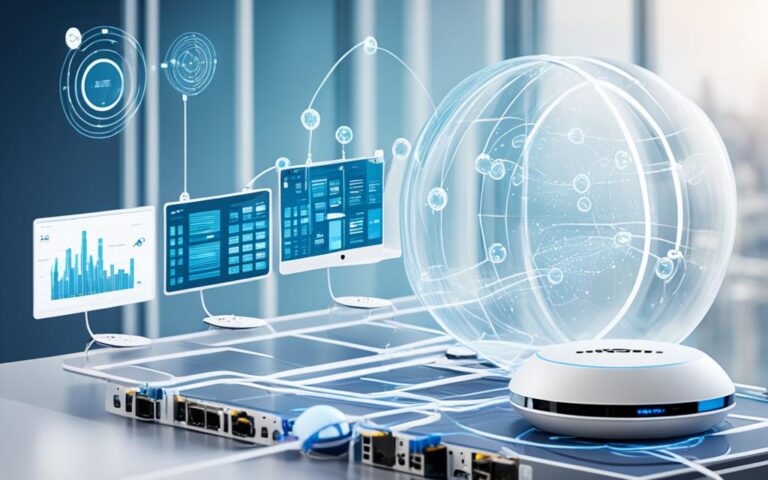
Wireless connectivity is a key feature for smart boards today. It connects devices for better collaboration and learning. You can use Wi-Fi or Ethernet for a wire-free link to your smart board. First, network settings must be set up by network admins to ensure a secure connection.
To set up the network, open necessary TCP/UDP ports and allow important URLs. These include h1.ee-share.com and sites under lango-tech.cn for EShare app and updates [source]. Also, to get the best performance, enable broadcast service and mDNS multicast [source].
After setting up the network, you can link your smart board and computer wirelessly. Here’s how:
Key Takeaways:
- You can connect your computer to a smart board using Wi-Fi or Ethernet.
- Network admins should configure the smart board’s network settings. This includes opening ports and allowing URLs.
- To enhance network performance, activate broadcast service and mDNS multicast.
Connecting your computer to a smart board wirelessly boosts collaboration. It also enhances learning. With the right network setup, you’ll have a secure and smooth connection. This makes teaching and learning more efficient for everyone1.
Connecting to a Smart Board Wirelessly with Laptops
To connect a laptop to a smart board wirelessly, ensure both are on the same Wi-Fi. This is crucial.
On a Windows 10 laptop, check the Network settings. Ensure the Wi-Fi connection is the same as the smart board’s.
Install the SMART Screen Share app on the laptop. Then, get the Screen Share IP from the smart board’s home screen.
Open the Screen Share app and type in the IP address. This will connect your laptop wirelessly2.
The laptop’s screen will appear on the smart board2. It’s that simple.
To stop, just hit Stop Sharing. Disconnecting is effortless.
For Apple devices, like iPhones and iPads, the process is similar. Ensure both your device and the smart board are on the same Wi-Fi.
Go to the Screen Mirroring option in the device’s Control Center. Choose the smart board’s display name for the wireless link3.
Wireless connections to smart boards make collaboration smooth2. It removes the mess of wires. It also lets presenters move freely while using their laptops24.
Connecting to a Smart Board Wirelessly with Android Devices
It’s easy to link your Android smartphone or tablet to a smart board without cables. First, ensure both the smart board and your Android device are on the same Wi-Fi. Then, go to the Wi-Fi settings on your device and choose the right network. Next, turn on Smart View or Screen Cast, whichever your device has. Pick the smart board’s name to get connected. Your Android screen will show up on the smart board.
Hooking up your Android to a smart board wirelessly is smooth. It’s a few simple actions to project your device’s screen onto the board. This makes working together and getting involved easy.
- Make sure both the Android gadget and the smart board use the same Wi-Fi.
- In the Android device’s Wi-Fi settings, find and connect to that network.
- After joining Wi-Fi, activate the Smart View or Screen Cast feature on your Android. This varies with different brands and models.
- Choose the smart board’s display from the list to connect wirelessly.
- Once connected, your Android’s screen will project on the smart board for sharing and teaming up easily.
- Disconnect by selecting Smart View or Stop Mirroring on your device.
Wirelessly linking an Android to a smart board brings versatility and ease to both education and work. It lets students and speakers present their ideas and media on a bigger screen effortlessly.
“Connecting Android devices to a smart board wirelessly opens up a world of possibilities for interactive learning and collaboration.” – Education Technology Expert5
Conclusion
Connecting a computer to a smart board without cables makes presentations more dynamic and engaging. To achieve this, follow the instructions for laptops, iPhones, iPads, and Android devices. Make sure both the computer and smart board use the same Wi-Fi network6. Also, adjust the network settings and implement security steps like using proxy settings and SSL certificates. This boosts the wireless connection’s safety and performance6.
Smart boards have transformed the way teachers and students work together, allowing multiple users to interact at the same time7. They come with cameras for video chats and tools to save presentations7. What’s more, these boards connect wirelessly to various devices, adding flexibility to teaching and learning7. They support different ways of learning, helping visual, auditory, and hands-on learners alike7.
Using smart boards wirelessly reduces the reliance on paper and photocopies, making classrooms more eco-friendly7. By hooking up bigger screens, lessons become more interactive and visible, improving student attention and allowing more teaching styles6. This technology use has been seen to lift test scores and deepen student understanding7. Real-time feedback is possible, and the SMART Notebook software offers creative tools and ready-to-use lessons across various subjects8.
Wirelessly connecting to smart boards brings many advantages to education. It fosters better teamwork, enriches learning experiences, and opens up a world of resources for both teaching and studying768.
FAQ
Can I connect my computer to a smart board wirelessly?
Yes, you can. You’ll need Wi-Fi or an Ethernet to do so. Before connecting, network admins must set up the smart board’s network settings.
What are the network settings that need to be configured for the smart board?
These settings include opening TCP/UDP ports and adding URLs to the whitelist. You must also configure the wireless network for the smart board to broadcast service and support mDNS multicast.
What are the steps to connect a laptop to a smart board wirelessly?
First, ensure your laptop and the smart board are on the same Wi-Fi. On a Windows 10 laptop, go into Network settings and check the Wi-Fi connection.
Then, download the SMART Screen Share app. Get the Screen Share IP from the smart board’s home screen. Open the app and type in the IP to connect wirelessly.
Can I connect an iPhone or iPad to a smart board wirelessly?
Absolutely. Both your smart board and Apple device need to be on the same Wi-Fi. Use the Screen Mirroring in the Control Center of your device. Then, pick the smart board’s display name to connect.
How do I connect an Android device to a smart board wirelessly?
For Android devices, start by connecting both to the same Wi-Fi network. Go to your Android’s Wi-Fi settings. Choose the right network. Then, enable Smart View or Screen Cast. Select your smart board’s display name to link up wirelessly.
What should I do if my smart board does not support wireless connectivity?
If wireless is not an option, you’ll need a wired solution. Connecting through an Ethernet cable is your best bet.
Source Links
- https://support.smarttech.com/docs/hardware/displays/smart-board-mx100/en/installing-and-configuring/connecting-to-a-network.cshtml – Connecting to a network – SMART Board MX100
- https://support.smarttech.com/docs/hardware/interactive-whiteboards/smart-board-600-and-d600/en/connecting-a-computer/default.cshtml – Connecting a computer – SMART Board 600
- https://support.smarttech.com/docs/hardware/displays/smart-board-mx100/en/using/connecting-and-using-computers.cshtml – Connecting and using computers – SMART Board MX100
- https://support.smarttech.com/docs/hardware/displays/smart-board-6000/en/using/connecting-and-using-computers.cshtml – Connecting and using computers – SMART Board 6000
- https://support.smarttech.com/docs/software/smart-teamworks/3/en/using/screen-sharing/default.cshtml – Screen sharing – SMART TeamWorks 3
- https://www.israk.my/how-to-connect-smartboard-to-computer – How to connect smartboard to computer effortlessly
- https://medium.com/@senseselec/top-features-of-smart-boards-senses-aed361df1fd9 – Top Features of Smart Boards | Senses
- https://study.com/academy/lesson/what-is-a-smart-board.html – SMART Board Overview, Features & Uses – Lesson | Study.com


