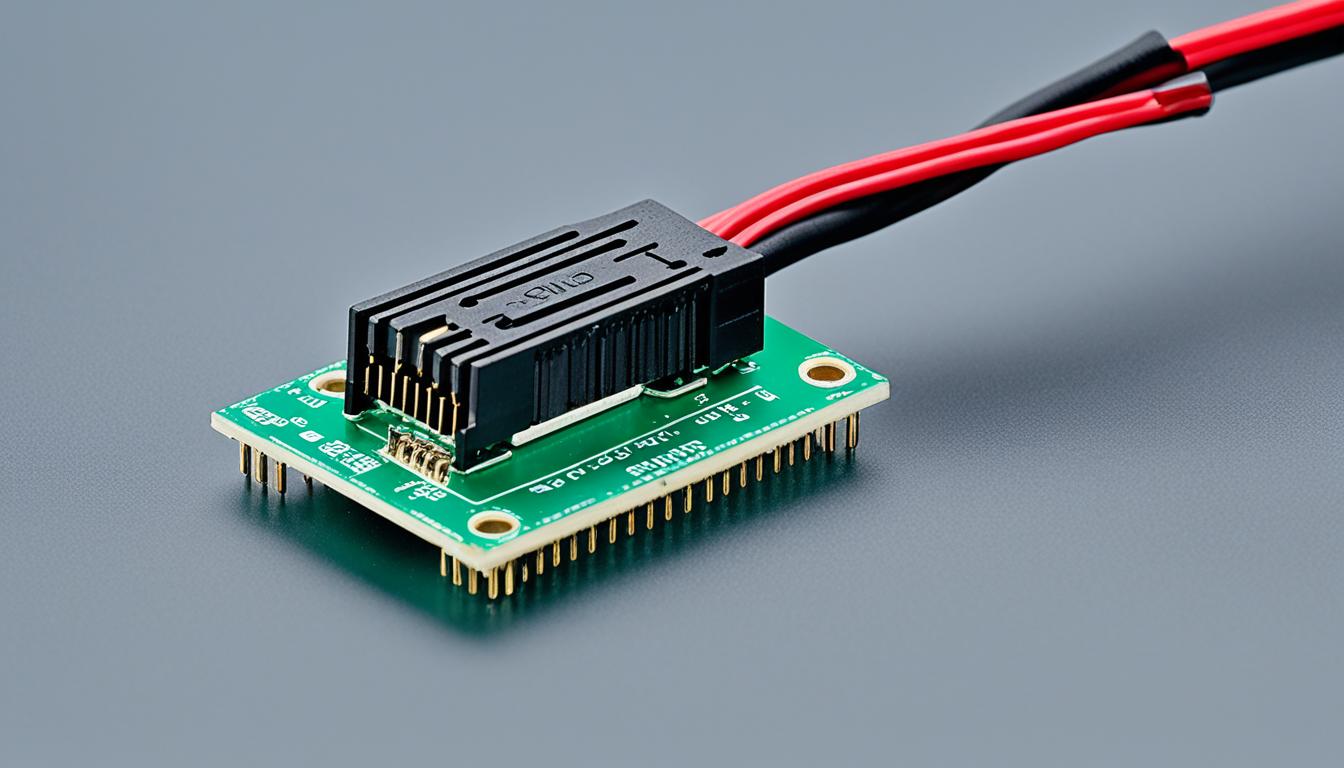
When dealing with your PC’s power switch connector, knowing how to pick and use it is key. This connector is a vital part of the motherboard that lets you manage your computer’s power. By correctly attaching the power switch, you ensure your computer turns on and off smoothly.
It’s crucial to understand the system panel connector, also known as the front panel header. This knowledge helps you handle the power button, reset button, and LED indicators on your computer case. By learning how to connect these to the system panel connector, you make using your computer’s front-end features easier.
To connect the power button, find the Power SW label on your motherboard. Hook up the positive (+) and negative (-) wires of the power button to the matching pins. The motherboard’s manual shows the polarity, with negative pins often marked with “N” or a black arrow. You can also alter the power button’s actions via software or BIOS.
Besides the power button, you can connect other parts to the system panel connector. For the reset button, find the Reset SW label and attach its wires to the right pins on the connector. Connect the hard drive activity LED to see it blink during data processing. The power LED shows when the computer is on, and front panel USB connectors link the case’s USB ports to the motherboard.
Be cautious when handling the system panel connector. Always turn off your computer and unplug it before you start. Try not to touch sensitive parts of the motherboard. Ground yourself to avoid static damage by touching metal. If something doesn’t work, double-check your connections for secure attachment and correct orientation.
In summary, the power switch connector plays a crucial role in controlling your PC’s power functions. Knowing how to use and connect it properly, alongside other components, makes managing your computer easier. Always follow safety steps and sort out any connection issues. With this advice, you’ll be able to make the most of your power switch connector and have a better PC experience.
Understanding the System Panel Connector and Its Components
The system panel connector, or front panel header, is on the motherboard. It links the front panel parts of your computer case. These include the power and reset buttons, LED indicators, and USB ports. Knowing how to connect these lets you control your computer from the front.
Building a PC? Get to know the system panel connector. It’s crucial for the front panel’s working. You’ll find it near the bottom right of the motherboard. It has pins for different parts.
The power button turns your computer on and off. It connects to the system panel connector. When pressed, it tells the motherboard to start or stop the computer.
The reset button is also vital. It lets you restart your computer quickly. You’ll find it connected to its own spot on the system panel connector.
LED indicators on the system panel connector show your computer’s status. The power LED lights up when the computer is on. The hard drive LED blinks during data transfers. These connect to specific headers on the panel.
There are also USB headers on the system panel connector. They let you use USB devices via the case’s front ports. These headers have their own labels.
Correctly connecting to the system panel connector makes accessing your computer’s functions easy. But, always check your motherboard manual. The pin location and labels can change with different models.
Component
System Panel Connector Header
Power Button
PWR SW
Reset Button
RESET SW
Power LED
Power LED +/-
Hard Drive Activity LED
HDD LED +/-
Front Panel USB
FP USB
Connecting and Configuring the Power Button
Setting up your PC is important. And so is connecting and setting up the power button correctly. It lets you control your computer’s power. We’ll show you how to connect the power button and set it up.
First, look for the Power SW (or PWR BTN) label on the motherboard. This tells you where to connect the power button. The power button has positive (+) and negative (-) leads. These must go on the matching pins on the system panel connector.
Note: It’s essential to pay attention to the power button’s polarity to ensure a proper connection.
Power Button Polarity
It’s key to get the power button polarity right. Motherboard manuals often show you how:
“N” or a black arrow: These signs point out the negative (-) pins on the system panel connector.
By following these signs and connecting the positive and negative leads correctly, you make sure the connection is right and safe.
Power Button Configuration
After physically connecting it, you can set up the power button’s behavior. You can use software or BIOS settings for this. This lets you decide what the power button does when pressed.
You might set it to sleep, hibernate, or shut down your computer. This means you can make the power button work just how you like. It’s tailor-made for your work style and power needs.
Summary
Connecting and setting up the power button is a vital step in getting your PC ready. Making sure it’s connected right and knowing about polarity is important for a safe connection. Also, customizing the power button’s use can improve how you use your computer. It makes your computing better overall.
Connecting Other Components to the System Panel Connector
You can add different parts to your PC’s system panel connector, not just the power button. This helps make your computer more useful.
Reset Button
The reset button lets you restart your PC without a full shutdown. First, find the Reset SW on the motherboard. Then, connect the reset button’s wires to the correct pins. This makes resetting your PC simple.
HDD Activity LED
An HDD activity LED shows when your hard drive is busy. To connect it, find the HDD LED label on your motherboard. Connect the LED’s wires to the right pins. Now, you can see your hard drive’s activity easily.
Power LED
The power LED indicates if your PC is on. To install it, look for the PWR LED label on the motherboard. Attach the LED’s wires to the matching pins. This light will show you that your PC is turned on.
Front Panel USB Connectors
Front panel USB connectors let you plug in USB devices easily. They are usually marked as USB or USB 2.0/3.0 on the motherboard. Connect the case’s USB connectors to the motherboard. This activates the front USB ports.
Connecting parts to the system panel lets you control your PC from the front easily.
Safety Precautions and Troubleshooting Tips
When dealing with the system panel connector, safety comes first. To avoid problems, follow these safety tips carefully:
Always turn off your computer and disconnect the power cable before starting. This avoids electric shock or system damage.
Avoid touching the motherboard’s sensitive parts with bare hands. They’re fragile and static can harm them. Ground yourself by touching metal before you start.
Running into trouble with system panel components? Don’t worry. Here’s how to fix common issues:
Double-check the system panel connector’s connections. Make sure cables are tight and in the right place. Loose or wrong connections can cause problems.
Still stuck? Look at your motherboard’s manual. It has detailed help for troubleshooting the system panel connector.
Can’t solve it with the manual? Get help online from the manufacturer’s site or forums. Other users might have fixed the same issue and can help.
Example Troubleshooting Scenario
Scenario: Your PC’s power button isn’t working.
Troubleshooting Steps:
Check the power switch connector is right on the motherboard.
Look at the power button leads. Connect positive and negative to the correct pins.
Try the power button again if everything’s connected right.
Still no luck? See your motherboard’s manual or find help online for what to do next.
To avoid mishaps with the system panel connector, stick to these safety and troubleshooting guidelines. Doing these checks carefully saves time and keeps your computer safe.
Conclusion
The power switch connector is key in controlling your PC’s power. It links the computer’s power button to its system. Knowing how to pick and connect it is vital. This knowledge lets you handle your computer’s power features better.
Always put safety first when handling the power switch connector. Switch off the computer and unplug it first. Ground yourself to get rid of static electricity by touching metal. This keeps you and your computer safe.
If the power button or LEDs don’t work right, check the system panel connector. Make sure everything is plugged in properly and facing the right way. If issues don’t fix, look at the motherboard guide or get help online.
This advice helps you get the most from your power switch connector. You can turn your PC on and off with ease. Learning to use this part well lets you control your computer’s power better.
FAQ
How do I select and use the power switch connector on my PC?
To select and use the power switch connector, connect it to the motherboard’s system panel connector. This lets you power your computer on and off. Check your motherboard’s manual to connect and set it up right.
What is the system panel connector and what does it do?
The system panel connector, or front panel header, is vital on the motherboard. It connects the computer case’s front elements like the power button, reset button, LED indicators, and USB ports. Connecting these to the system panel lets you manage your PC’s functions easily.
How do I connect the power button to the system panel connector?
To connect the power button, find the Power SW (or PWR BTN) on the motherboard. Attach the positive and negative leads to the matching pins. Ensure the connection’s polarity is right by following the motherboard’s manual. You might also adjust the power button’s function in the BIOS settings.
Can I connect other components to the system panel connector?
Yes, you can attach other parts to the system panel connector. This includes the reset button, hard drive LED, power LED, and USB connectors from the front panel. Match the positive and negative leads to the motherboard’s corresponding labels. Check that the connections are secure and correctly aligned.
What precautions should I take when working with the system panel connector?
When dealing with the system panel connector, follow safety steps. Turn off your PC and unplug it before you start. Touch a metal surface to avoid static damage to the motherboard. If components don’t work, recheck to ensure everything’s connected properly and correctly.
What should I do if I encounter issues with the system panel components?
If you face problems with system panel components, check the connections first. They should be secure and in the right orientation. For more help, the motherboard’s manual or online forums can offer solutions. They are great resources for troubleshooting.
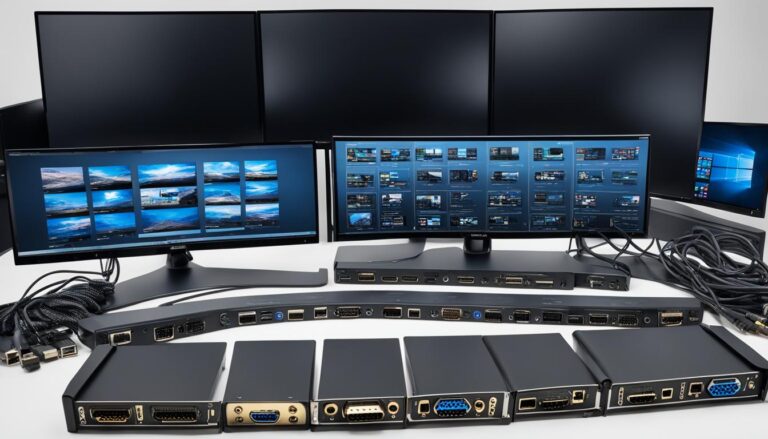
Choosing the right monitor connector is important. Each one has unique features that affect display quality and compatibility. Knowing the differences helps you choose wisely. Options range from HDMI and…
Welcome to our guide on display cables and their uses. Technology keeps changing, and so do monitor cables. They help connect your devices and make your viewing better by transferring…
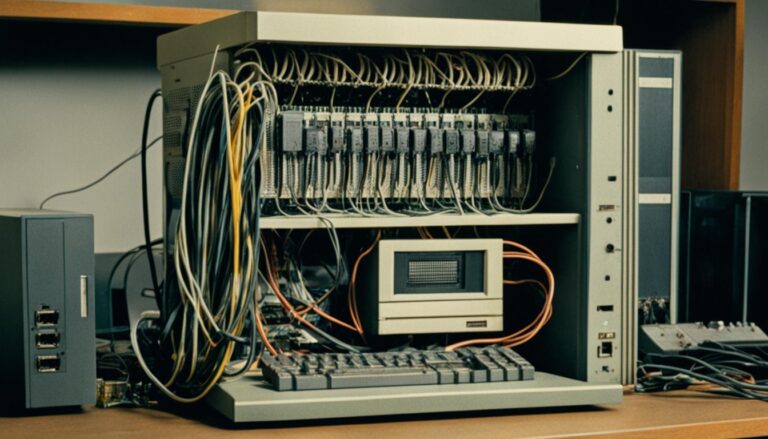
Parallel ports, also known as printer ports or Centronics ports, were once common on early computers. They allowed computers to send multiple bits of data at once. Although they’re not…
DisplayPort in laptops brings many advantages for high-res output. It makes visuals stunning with ultra-high-resolution displays. It also boosts display performance to unmatched levels. This article looks at how DisplayPort…
Knowing about different monitor ports is vital for PC display connections. These ports affect how your PC hooks up to a monitor or other displays. This ensures great performance and…
Welcome to our piece on the 110 port. This is an essential part of online emailing. It helps in sending and receiving emails safely and efficiently. Whether you just enjoy…