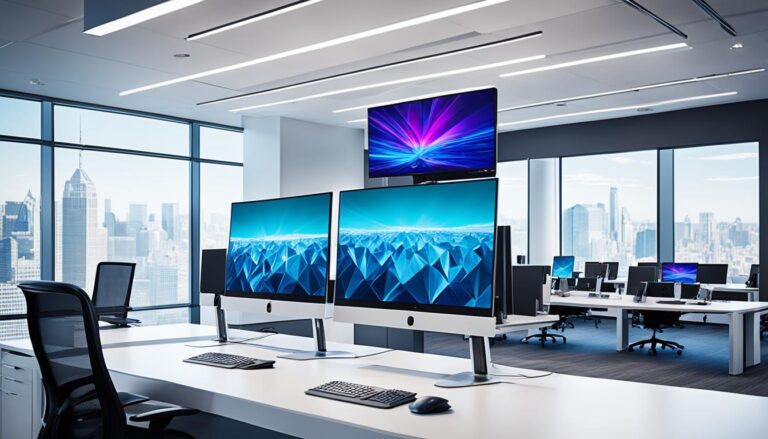
Welcome to our guide on finding your way through different PC monitor connections. Getting your PC monitor set up right is key to a smooth experience. We’ll show you all about the various monitor connections. Also, how to pick the right cables, solve common problems, and make your monitor setup better.
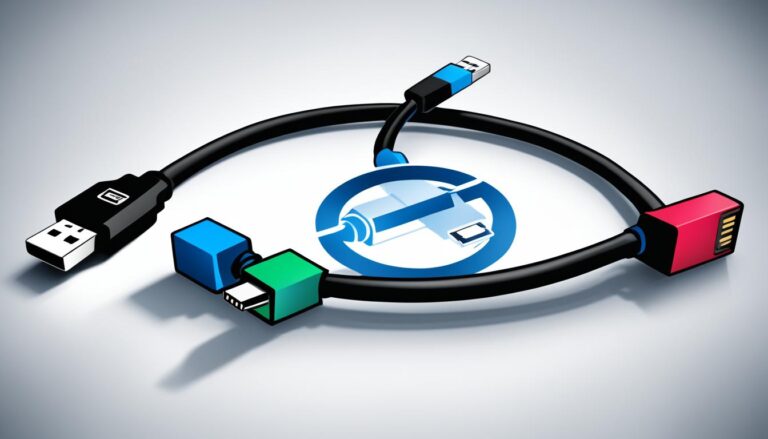
Every PC monitor needs at least two cables: one for power and another for data. The power cable turns the monitor on. The data cable sends the image from your computer to the screen. It’s important to know about the data cables and if they fit your computer’s ports.
We’ll cover the most seen PC monitor connections like DVI, HDMI, DisplayPort, and VGA. You’ll learn how to choose the proper cable for your monitor. Plus, we’ll give you detailed steps to connect your monitor to your computer. Besides, we’ll help you with common setup problems.
We’ll also offer extra tips to improve your monitor setup. This includes how to calibrate your monitor, make ergonomic adjustments, and use multiple monitors well.
By the end of this guide, you’ll know how to handle different PC monitor connections easily. This means a hassle-free setup and a better viewing experience. Let’s dive in!
Types of PC Monitor Connections
Many options are available for PC monitor connections, each with its own benefits. Knowing the different types will help you pick the best one for your setup. Let’s explore the most common PC monitor connections:
Related Posts:


DVI (Digital Visual Interface)
The DVI port is used in many older monitors. It works with both analog and digital signals, making it very flexible. DVI offers high-quality video, resulting in sharp and colourful displays.
HDMI (High-Definition Multimedia Interface)
HDMI is a popular choice that supports high-definition video and audio. It’s found in newer monitors and delivers great image and sound. With HDMI, only one cable is needed for both audio and video, making setup easier.
DisplayPort (DP)
DisplayPort is for digital video and audio, perfect for high-resolution screens. It’s common in modern monitors and supports multiple screens and daisy-chaining. DisplayPort provides superior image quality, ideal for top-notch setups.
VGA (Video Graphics Array)
VGA is an analog connection used in old monitors. Though mostly replaced by digital, it’s still seen in some devices. VGA’s image quality isn’t as good as digital ones, but it’s helpful for old devices.
These are the main types of PC monitor connections. Each has its own pros and what you should think about. Think about your device compatibility and what resolution and sound you want.
Choosing the Right Cable for Your Monitor
Choosing the right cable for your monitor is very important. It ensures your computer and monitor connect well. Sometimes, the cables that come with monitors don’t fit your computer’s ports. You might need to buy a new one for a better fit. Most of the time, an HDMI cable is best for high-quality images. But, if you want quicker refresh rates, go for a DisplayPort cable.
If your computer and monitor’s ports don’t match, don’t worry. You have a few solutions. You could buy a suitable cable, a video converter, or even upgrade your equipment. This ensures everything connects perfectly.
Example
“Picking the right cable for your monitor matters a lot for a smooth setup. HDMI cables give you great picture quality. DisplayPort cables are great for faster refresh rates. If the connectors differ, you can choose from new cables, converters, or upgrading.”
Having the right cable unlocks your monitor’s best performance. Whether you care more about image quality or speed, the correct cable makes everything work well together. It leads to a great user experience.
Connecting Your Monitor to the Computer
To connect your monitor to the computer, follow these steps:
-
Look for the data cable without an AC adapter attached.
-
Match the cable to a video port on the monitor and computer. Common ports are HDMI, DVI, and DisplayPort.
-
Make sure the cable connection is secure by screwing it in (for VGA and DVI).
-
If the monitor and computer connectors don’t match, you have options. You can buy a compatible cable, use a converter, upgrade your gear, or get a new monitor.
-
Next, plug the power cord into your monitor and an outlet.
-
Turn on both the computer and monitor. Install any monitor software if needed.
Connecting your monitor to the computer is easy. Just pick the right cable for your computer and monitor’s video ports. Make sure the connection is tight for a good signal. If the connectors don’t match, don’t worry. You can find a way to connect them with the right cable, a converter, or an upgrade.
Remember, plug in the power cord after you’ve connected the data cable. This avoids any electrical trouble.
By following these simple steps, you’ll have your monitor hooked up in no time. Then you can enjoy a beautiful, clear display.
Troubleshooting Common Issues
Setting up your monitor can sometimes bring about common problems. Here are some frequently seen issues and how to fix them:
- No display or black screen: Make sure all cables and power connections are properly plugged in and working. Check if your monitor is on the right input. Try using a reliable cable or another system to find the issue.
- Poor focus: Double-check cable connections for proper attachment. Use the monitor’s menu for an auto-adjustment. Remove any video extension cables to prevent interference.
- Shaky or jittery video: Adjust the video stability with the monitor’s menu auto-adjustment. Optimize video by adjusting phase and pixel controls. Also, look for environmental causes of instability like electromagnetic interference.
- Missing or stuck pixels: Turning the monitor off and then on might fix pixel issues. Some monitors have diagnostics to help. Check the monitor’s pixel policy to understand pixel issue limits.
- Brightness problems: Ensure all cable connections are secure. Reset the monitor to tackle software issues. Set the brightness and contrast right for better display. Check for any impacts of external light.
- Geometric distortion: Resetting the monitor can help. Use the OSD menu for adjustments. Set the brightness and contrast to get the best display.
- Horizontal or vertical lines: A reset might clear horizontal or vertical lines. Use the OSD menu for adjustments. Check the video cable for damaged pins.
- Synchronization problems: A factory reset can assist with synchronization issues. Adjust using OSD menu. Inspect the video cable for damage. If problems continue, restart the computer in power-safe mode.
If safety issues come up during setup, immediately get in touch with the manufacturer’s support team.
Additional Monitor Setup Tips
Enhance your monitor setup experience with these helpful tips:
-
Monitor calibration
Improve your viewing by adjusting your monitor’s colors and brightness. Calibrating your display makes the colors vibrant and true to life. Remember to fine-tune contrast and gamma too.
-
Ergonomics
Make your setup comfy by tweaking the monitor’s position. Your monitor should be at eye level to reduce eye and neck strain. A good chair and posture are key for long sessions.
-
Multi-monitor setup
A multi-monitor setup can boost your work output. Arrange your screens to match their real-world layout for smooth work across them. This setup helps with multitasking and being more creative.
-
Explore advanced features
Get to know the extra functions of your monitor for a better experience. Try out picture-in-picture to see different apps at once. If you’re into gaming, gaming modes make visuals smoother and reduce lag. Look through color presets to find your favorite.
By following these additional monitor setup tips, you can optimize your viewing experience, enhance productivity, and fully utilize the features of your monitor.
Conclusion
It’s vital to set up your PC monitor the right way for the best view. Knowing about different PC monitor connectors and picking the right cables is key. Make sure to follow what the maker says. Also, use tips like calibrating your monitor and making ergonomic changes to get the most from your monitor.
Learning about connection types like DVI, HDMI, DisplayPort, and VGA helps you pick the right cable. If you face no display, blurry images, or shaky videos, solving these problems can improve your experience.
Looking into special options like using more than one monitor and adjusting settings for better comfort can bring out the best in your PC monitor. Always check the guide on PC monitor connections and setup advice shared in this piece to fully enjoy your monitor’s features.
FAQ
What cables do I need to connect my PC monitor?
To hook up a computer monitor, you need two types of cables. One brings power to your screen. The other transmits images from your PC.
What are the common types of data cables for PC monitors?
PC monitors use several data cables. These include DVI, HDMI, DisplayPort, and USB-C. Older screens might use VGA, composite, or S-Video.
How do I choose the right cable for my monitor?
Pick a cable that fits both your computer and monitor. HDMI is great for clear images. Use DisplayPort for quick refresh rates.
How do I connect my monitor to the computer?
First, use a data cable without an AC adapter. Match it with a video port on your monitor and PC. Then, attach the power cord to your screen and a socket.
What should I do if I encounter common issues with my monitor setup?
If you face problems like no display or a shaky video, don’t worry. Check all connections. Adjust settings via your monitor’s menu. Remove any external disruptions. These steps often fix the issue.
Are there any additional tips for setting up my monitor?
Indeed, several tips can improve your setup. Calibrate your monitor for better colors. Adjust its height and tilt for comfort. Explore features like picture-in-picture and gaming modes. Consider having more than one monitor.