The Snipping Tool is a built-in app for screenshots in Windows 10 and 11. It lets you capture shots, mark them, and share quickly. Here’s how to get it on Windows 11:
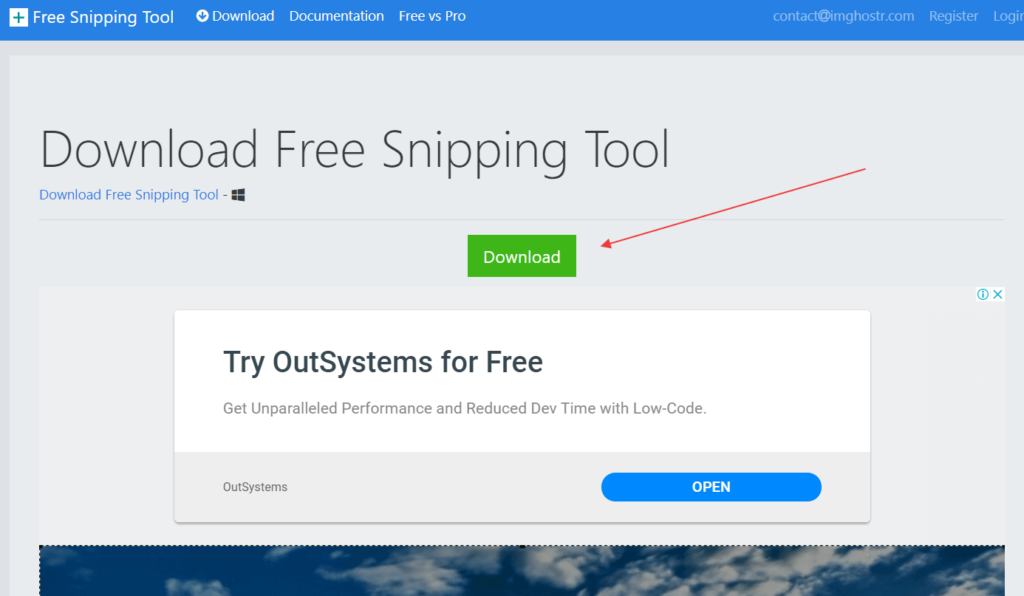
Open the Microsoft Store application.
Search for ‘Snipping Tool’.
Select the ‘Snip & Sketch’ app from the results.
Click the ‘Get’ or ‘Install’ button to install the app.
Once installed, open the app to start capturing screenshots of your Windows 11 desktop easily.
To launch it, find it in the Start Menu or make a shortcut on your desktop.
Now, use the Snipping Tool to take screenshots. Just select an area and hit “Capture.” You can also annotate and save your screenshots.
Installing the Snipping Tool on Windows 11 is easy. It enhances your ability to take and mark up screenshots. By following the above steps, you’ll quickly be able to use this helpful tool. It’s great for boosting your productivity and sharing ideas effectively.
Using the Snipping Tool in Windows 11
After installing and launching the Snipping Tool in Windows 11, you’re ready to take screenshots and annotate them. This tool has several options to make your screenshots better. You can capture just what you need, easily.
Capture Mode
The Snipping Tool lets you select the part of the screen you want to capture. Click and drag your mouse to pick a specific area. Or, you can choose to capture the whole screen or just a window. This makes it simple to get exactly what you need.
Annotation
This tool has great features for adding notes to your screenshots. You can add text, draw lines, or point out key details with arrows. If you need to hide parts, there’s also a blur option. This keeps your information safe and private.
Saving and Sharing
After adding notes to your screenshot, you can save it in various formats like PNG, JPEG, or GIF. This makes it easy to use with different apps and to share. You can send your screenshot to others through email, social media, or any way you like.
With these features, the Snipping Tool in Windows 11 makes it quick to capture, note, and share screenshots.
Alternatives to the Snipping Tool
The Snipping Tool is handy for screenshots in Windows 11. But there are other choices too that offer more. Some popular options include:
Snip & Sketch
This replaces the Snipping Tool in Windows 10 and 11. It’s easy to use for taking and marking screenshots.
Snagit
A paid tool, Snagit, has extra features. You can capture scrolling windows, record videos, and edit images.
Lightshot
Lightshot is free and lets you capture, edit, and share screenshots online.
Greenshot
Greenshot is also free. It lets you capture and annotate screenshots. You can also save them in various formats.
ShareX
ShareX is free and open-source. It has many features like screen recording, capturing scrolling, and custom workflows.
Different users need different things from their screenshot tools. Whether you want a simple tool like Lightshot or Greenshot, or something with more features like Snagit or ShareX, there’s an option for everyone.
Conclusion
Putting the Snipping Tool on Windows 11 is easy. It makes taking screenshots much better. Just follow this guide to get started. You’ll soon be snapping pictures of your desktop without trouble.
You can choose how to take screenshots with different modes. Capture a part of the screen, the whole screen, or a window. The Snipping Tool lets you underline or add notes to your shots. This helps point out the main parts or add info.
Saving and sharing your screenshots is straightforward. Pick from formats like PNG, JPEG, or GIF. Sharing them is easy too, whether by email, social media, or another way.
If the Snipping Tool isn’t enough, there are other options. Many tools have extra features for your screenshot needs. You can stick with the Snipping Tool or try new ones on your Windows 11 device.
FAQ
How do I install the Snipping Tool on Windows 11?
To install the Snipping Tool on Windows 11, follow these steps:
How can I check if the Snipping Tool is already installed on my computer?
Check if the Snipping Tool is installed by searching in the Start Menu.
What are the capture modes available in the Snipping Tool?
The Snipping Tool has different capture modes. You can select an area, capture the whole screen, or choose a specific window.
Can I annotate screenshots with the Snipping Tool?
Yes, you can annotate screenshots with the Snipping Tool. Add text, draw lines, include arrows, and blur out parts.
In what formats can I save the annotated screenshots with the Snipping Tool?
You can save screenshots in formats like PNG, JPEG, or GIF.
Are there any alternatives to the Snipping Tool for capturing screenshots in Windows 11?
Yes, there are alternatives to the Snipping Tool. These include Snip & Sketch, Snagit, Lightshot, Greenshot, and ShareX.
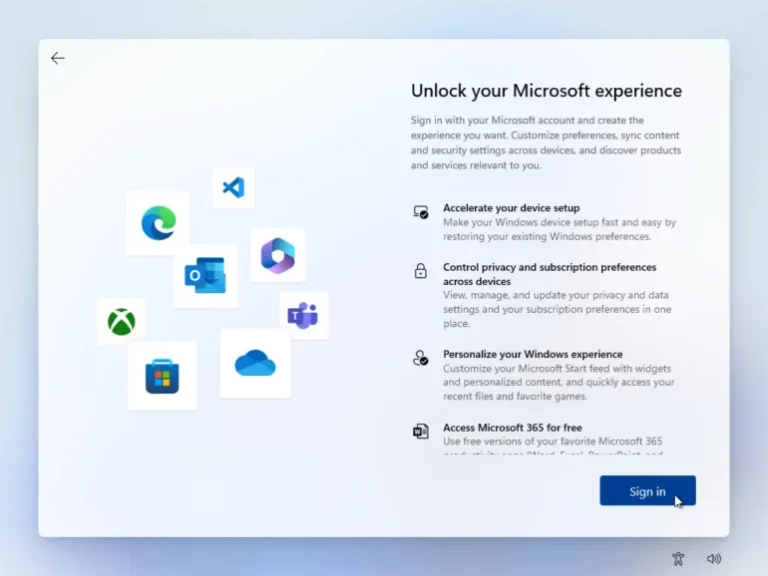
Usually, Windows 11 asks you to sign in with a Microsoft account during its setup. But you might want to use a local account instead. This guide shows you how…
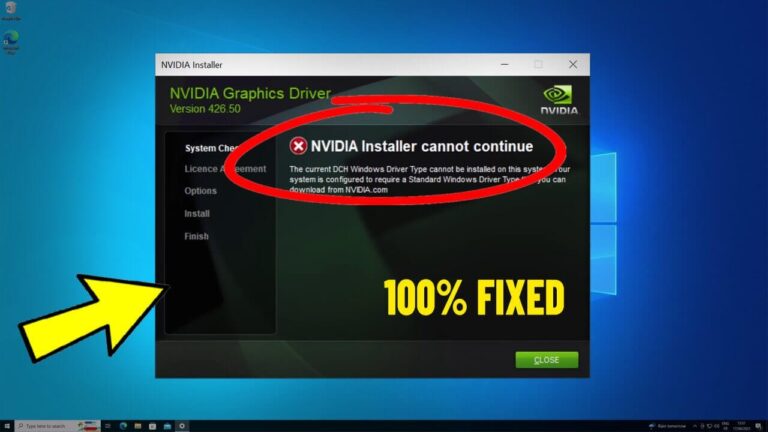
When trying to install NVIDIA drivers on Windows 11, you might see a “NVIDIA Installer failed” error. This stops you from installing the needed drivers for your NVIDIA Graphics GPU….
RSAT tools are crucial for IT pros who manage servers. You can easily install RSAT on Windows 11 with PowerShell. This method is great for those who need flexibility and…
OpenSSL is key for boosting your Windows 11 system’s security. This guide will show you how to install OpenSSL on Windows 11. By doing so, you will make your computer…
If you’re planning to upgrade to Windows 11, picking the right SSD is key. Windows 11 comes with cool new features and improvements. Yet, it requires your SSD to meet…
Being an IT expert means knowing Active Directory Users and Computers (ADUC) inside out. It’s key for managing a Windows Active Directory (AD) domain well. With ADUC, you can handle…