Usually, Windows 11 asks you to sign in with a Microsoft account during its setup. But you might want to use a local account instead. This guide shows you how to install Windows 11 without one. You can use these tips for new installs or new computers. The first method involves a command during setup. The second method uses Rufus to create a modified USB install disk.
To install Windows 11 without using a Microsoft account, just follow these simple steps:
Power on your device and start the setup for Windows 11.
Select your preferred language, time zone, and keyboard settings.
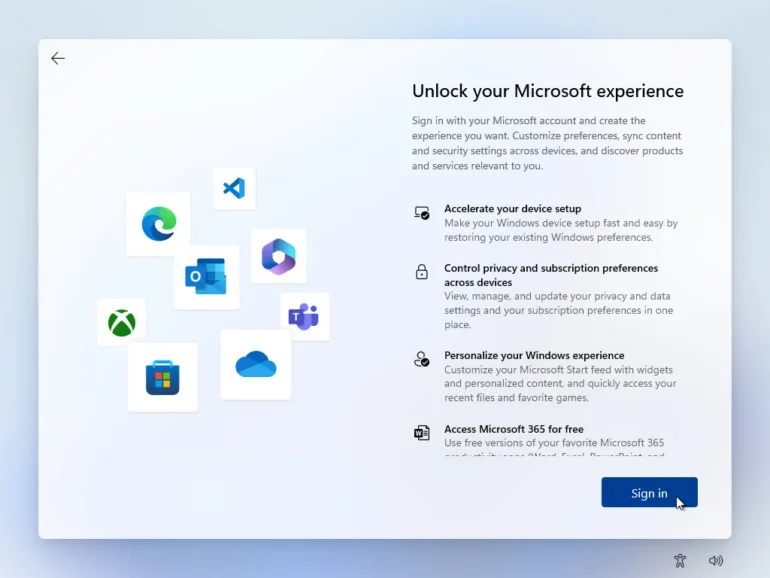
When asked to sign in with Microsoft, choose the “Offline account” option below.
Then, select “Limited experience” and click on “Create one”.
You’ll see a “Create an account” window. Here, click the link to sign in without a Microsoft account.
Create a username and a strong password for your local account. Adding a password hint is a good idea for security.
Hit the “Next” button and follow the on-screen steps to finish installing.
Note: Choosing to install Windows 11 with a local account means you’ll miss out on some Microsoft features and services. For example, OneDrive cloud storage and app downloads from the Microsoft Store won’t be available.
After the installation, you can start enjoying Windows 11. Your new local account lets you enjoy better privacy and control over your data.
Advantages of Installing Windows 11 with a Local Account
Elevated privacy and control over account data
Simplified sign-in process
No reliance on Microsoft services
Easier management on shared or resold devices
If you prefer a local account for a more personal Windows 11 experience, just follow the steps mentioned. Setting up with a local account lets you adjust Windows to better fit your needs and preferences.
Creating a Windows 11 Install Disk for Local Account Setup
If you want to make a Windows 11 install disk for setting up a local account, here’s what to do:
First, get the Windows 11 ISO file from the official Microsoft site or via the Windows Update Assistant.
After downloading the ISO, create a bootable USB drive. Use Rufus, a well-liked tool for this purpose.
Put a USB drive with at least 8GB into your computer.
Launch Rufus and pick the USB drive you plugged in.
Look for the Windows 11 ISO file you downloaded and select it.
Make sure to set the partition scheme to “GPT” and the file system to “NTFS”.
Hit the “Start” button to kick off making the bootable USB drive. Remember, this will remove all data on the USB, so back up any vital files first.
After it’s done, you’ll have a Windows 11 install disk ready for installing Windows 11 with a local account.
By doing this, you create a bootable USB drive that lets you set up a local account when installing Windows 11. It lets you customize the setup to fit what you want.
Setting Up a Local Account During Windows 11 Setup
When setting up Windows 11, you can choose a local account. This gives you benefits like better control and privacy. You can create a local account during setup or with a modified install disk. Both methods are easy to follow.
To set up a local account using the setup trick, do the following:
Go through the setup until it asks for a Microsoft account.
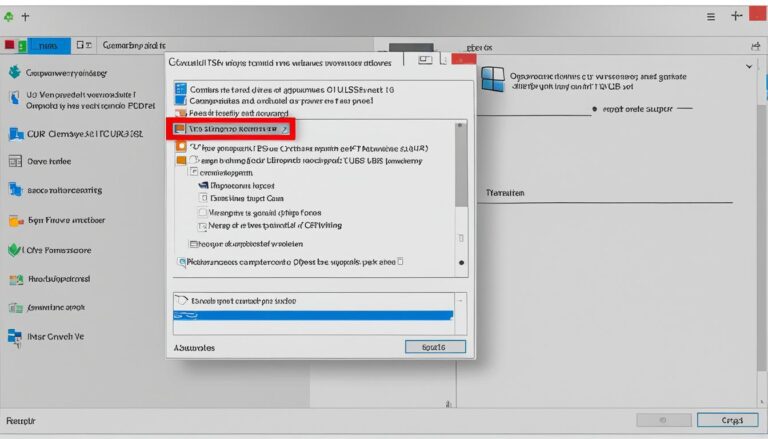
Don’t sign in. Instead, press Shift + F10 to open Command Prompt.
Type regedit and hit Enter to open Registry Editor.
Go to HKEY_LOCAL_MACHINE\SOFTWARE\Microsoft\Windows NT\CurrentVersion\OOBE.
Change the HideOobeWelcome value’s data to 1.
Close both windows.
Hit the Back button in setup.
Now, you’ll see the option for a local account.
To create a local account with a modified install disk, follow these steps:
Download Rufus on another internet-connected computer.
Put an 8GB USB drive into this computer.
Launch Rufus and pick your USB drive from the Device menu.
Select the Windows 11 ISO file by clicking Select.
Choose GPT under Partition scheme.
Pick NTFS under File system.
Hit Start to make the install disk.
Once done, move the USB to the computer you’re setting up.
Start the computer from the USB and install Windows 11.
When asked, set up a local account.
Creating a local account during the Windows 11 setup offers more privacy. It also makes managing shared or sold devices easier. Just follow these steps for a better experience on your Windows 11 desktop.
https://www.youtube.com/watch?v=v-eK4wJRn78
Conclusion
Setting up Windows 11 with a local account has many perks. First, it boosts your privacy since you don’t need to link to a Microsoft account. So, your personal info and data stay safer on your device. Additionally, a local account means you have more control over your data. You can adjust your files and settings yourself, without syncing across devices.
Another pro of a local account is that it’s better for devices used by many. You can set up individual accounts for different users, each with their own setup. This is great for families or offices sharing a device. It also makes it easier to sell or pass on your Windows 11 device later.
You can indeed install Windows 11 without a Microsoft account. Whether you use a setup trick or a custom install disk, it’s doable. This guide shows how to set up Windows 11 with a local account. Take charge of your Windows experience. Make your device private and personal by choosing a local account for Windows 11.
FAQ
What is the default login method for Windows 11?
Windows 11’s default setup asks you to use a Microsoft account. This happens during installation or the initial setup.
Can I install Windows 11 without a Microsoft account?
Yes, it’s possible to install Windows 11 without a Microsoft account. You can opt for a local account during the setup.
How can I install Windows 11 without a Microsoft account?
To install Windows 11 without a Microsoft account, you have two options. The first is by using a specific command during setup. The second involves making a custom USB install disk with the tool called Rufus.
Can I set up a local account during the Windows 11 installation process?
Yes, during the setup of Windows 11, there’s a point where you can choose a local account. This skips the Microsoft account.
What are the benefits of setting up Windows 11 with a local account?
Using a local account to set up Windows 11 brings benefits. You get better privacy and control over your data. This is handy for devices that are shared or resold.
Our guide will show you how to install CentOS on Windows 11 using a virtual machine. This guide is perfect for developers, sysadmins, or Linux enthusiasts looking to run CentOS…
Choosing to install Windows 11 in a different language requires following some key steps. This guide aims to help you install Windows 11 in the language you prefer successfully. Windows…
RSAT tools are crucial for IT pros who manage servers. You can easily install RSAT on Windows 11 with PowerShell. This method is great for those who need flexibility and…
The best laptops with Windows 11 pre-installed enhance your experience with the newest OS. They offer better performance, advanced features, and stronger security. This guide will help you pick the…
Microsoft has specific hardware needs for Windows 11, like TPM 2.0, certain CPUs, and enough RAM. Yet, there’s a way for users with older hardware to install it. They can…
Creating an unattended installation for Windows 11 makes things simpler. You don’t have to manually click through dialog boxes. This helps with faster, more customized installations. Follow this guide to…