Do you want to put Windows 7 on your Windows 10 computer? We will show you how to use both Windows 7 and Windows 10 together. This guide covers everything from needing Windows 7 for certain software to preferring its look. Let’s begin!
Understanding the perks of using two systems is key before we start. With both Windows 7 and Windows 10, you can switch easily. This flexibility lets you pick the best operating system for the moment.
Now we’ll look at putting Windows 7 on your Windows 10 device. Just follow these steps for a hassle-free setup:
The initial move is to make a new partition for Windows 7. This keeps your Windows 10 safe while adding Windows 7. Use Windows 10’s “Disk Management” tool. Open the tool, pick your current partition, and create a new one. Make sure it has enough space for Windows 7.
Step 2: Install Windows 7 in the New Partition
With the new partition ready, it’s time for Windows 7. Put a USB with Windows 7 ISO into your computer. Restart and enter the BIOS to choose USB as the main boot option. Follow the setup steps on the screen. Pick the partition made earlier and complete the Windows 7 setup.
Step 3: Repair Windows 10’s Booting
After installing Windows 7, you might find Windows 10 won’t start right. No worries – there’s a fix. Use the Windows 10 installation media, restart, and pick it as the boot option in BIOS. Choose setup options, go to Command Prompt, and type “bootrec /fixmbr”. This fixes the start-up issue.
If setting up dual boot seems tough, consider a Windows 7 virtual machine instead. This lets you run Windows 7 inside Windows 10. It’s great for using older software or trying new apps safely. A virtual machine blends convenience with the best of both systems.
Conclusion
Adding Windows 7 to your Windows 10 machine opens new doors. Whether you dual boot or use a virtual machine, you get the best of both without losing efficiency or features. Follow our guide to install Windows 7 and enhance your computer today!
Step 1: Create a New Partition for Windows 7
Installing Windows 7 alongside Windows 10 requires a new partition. This gives each operating system its own space on your device. To make a new partition, you need to follow certain steps.
Open the “Computer Management” tool on your Windows 10 machine. You can find it by searching for “Computer Management” in the Windows search bar.
Choose “Disk Management” from the list on the left.
Find the partition you want to divide. Right-click it and select “Shrink Volume”.
A window will show how much space you can shrink. Type in your new partition’s size in MB and hit “Shrink”.
Once it’s shrunk, you’ll see unallocated space on the drive. Right-click this space and pick “New Simple Volume”.
Just follow the on-screen steps to finish your new partition. This includes picking its size and giving it a drive letter.
After shrinking your existing partition and creating unallocated space, you’re ready to install Windows 7 on your Windows 10 machine.
Here is how the process looks:
Step
Description
1
Open “Computer Management” tool
2
Select “Disk Management”
3
Right-click on the existing partition, choose “Shrink Volume”
4
Input desired size, click “Shrink”
5
Click on unallocated space, select “New Simple Volume”
6
Complete steps for new partition creation
Step 2: Install Windows 7 in the New Partition
After creating a new partition, it’s time to install Windows 7. First, insert the USB drive with the Windows 7 ISO file into your laptop. Then, restart your laptop.
To start the installation, you’ll need to access the BIOS. Here, select the USB drive as the boot option. This way, your computer will boot from the USB, not the internal hard drive.
Next, the Windows 7 setup will start, offering various options for customization. Choose language, keyboard layout, and other settings to fit your needs. Then, follow the installation steps.
Installing Windows 7 on the new partition will take some minutes. Follow all the on-screen instructions during this time.
Once the installation finishes, restart your laptop. Now, you can choose between Windows 7 and Windows 10 at boot-up.
Step 3: Repair Windows 10’s Booting
If you’ve got Windows 7 up and running, you might hit a snag with Windows 10 booting up. Fixing Windows 10’s booting is your next step.
Begin by plugging in the Windows 10 installation media into your laptop. Then, restart it and go into the BIOS. Here, choose the installation media as your boot option. This lets you get to the Windows 10 setup.
Inside the Windows 10 setup, pick the right options to get to the Command Prompt. There, type “bootrec /fixmbr” to start repairing Windows 10’s boot.
This command repairs the Master Boot Record (MBR) of Windows 10. It ensures your laptop boots up correctly. You’ll be able to pick between Windows 7 and Windows 10 when turning on your laptop.
By doing this, you’ll have both Windows 7 and Windows 10 working on your laptop.
Should you run into issues or need more help, check the Windows 10 help guide. Or, contact Microsoft’s customer service for support.
Benefits of Using a Windows 7 Virtual Machine
If you’re not keen on dual booting Windows 7 and Windows 10, think about using a Windows 7 virtual machine. This method has many perks, like running old software that might not work on Windows 10. It also lets you test new applications in a safe place.
A key benefit of a Windows 7 virtual machine is it allows older software to run smoothly on Windows 10. Many old programs were made for earlier systems and don’t work well on Windows 10. With a virtual machine, you can keep using these essential programs without trouble.
Also, a Windows 7 virtual machine offers a safe space to try out new software. Before adding new apps to your main system, it’s vital to check they work right. This avoids the risk of messing up your Windows 10 setup. So, you can safely explore new software and decide if it’s right for you.
“A Windows 7 virtual machine provides a secure sandbox for testing new applications without compromising your primary Windows 10 environment.” – Technology Expert
Another upside is accessing different operating systems at once. It boosts your productivity by letting you switch between systems without hassle. Need to use Windows 7 features while on Windows 10, or the other way around? A virtual machine makes both systems easily accessible.
In conclusion, a Windows 7 virtual machine is handy for running old software and safely trying new apps. It makes sure you can use essential old software, test new apps risk-free, and use multiple systems with ease. If you want your Windows 10 system to do more, consider a Windows 7 virtual machine.
Conclusion
Installing Windows 7 on a Windows 10 machine is easy. You can do it through dual booting or using a virtual machine. Just follow the guide to run multiple operating systems on your laptop.
Dual booting gives you the advantage of using Windows 7 alongside Windows 10. This is great for running old programs and testing new ones safely. It boosts your productivity by letting you access different operating systems at once.
On the other hand, a Windows 7 virtual machine on Windows 10 is safe for running programs that don’t match. It also allows you to test out new applications. You won’t need to partition your hard drive, which is very convenient.
You can either dual boot or use a virtual machine to install Windows 7 on a Windows 10 machine. Follow the guide to enjoy using both operating systems. They offer great flexibility and benefits.
FAQ
How do I install Windows 7 on my Windows 10 machine?
To get Windows 7 on your Windows 10 device, follow these steps:
What is the first step in installing Windows 7 on a Windows 10 machine?
Start by making a new partition for Windows 7. Use “Computer Management” and “Disk Management” for this.
How do I create a new partition for Windows 7?
First, shrink your existing partition to make space. In “Disk Management,” pick the partition and shrink it.
What is the second step in installing Windows 7?
Now, install Windows 7. Put the Windows 7 ISO on a USB drive. Restart your laptop and go into BIOS. Choose the USB as a boot option.
Then, start the Windows 7 setup and follow the steps.
What should I do if I encounter issues with Windows 10’s booting after installing Windows 7?
To fix Windows 10 boot issues, use the Windows 10 installation device. Restart, access the BIOS, and pick it as a boot option. Then, use Command Prompt and type “bootrec /fixmbr”.
What are the benefits of using a Windows 7 virtual machine on a Windows 10 machine?
A Windows 7 virtual machine lets you use old programs not suited for Windows 10. It’s good for testing apps in a safe area. Plus, you can work on multiple operating systems, boosting your work output.
Are you thinking of installing Windows 10? Knowing the needed time for this task is crucial. The time differs if you’re starting fresh, upgrading, or doing it after a system…
Installing Visual Basic 6 on Windows 10 might seem tough, especially if you use old apps. Many are looking for ways to get VB6 running on their modern computers. They…
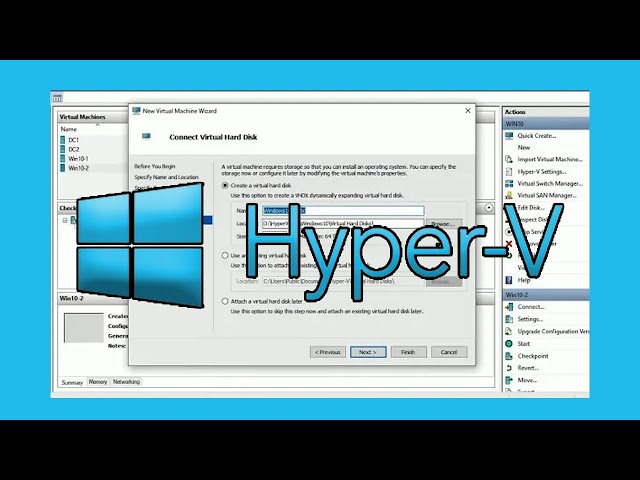
Welcome to our guide on setting up Windows 10 on Hyper-V. If you want to test software, build a development space, or try new features, Hyper-V is ideal. We’ll show…
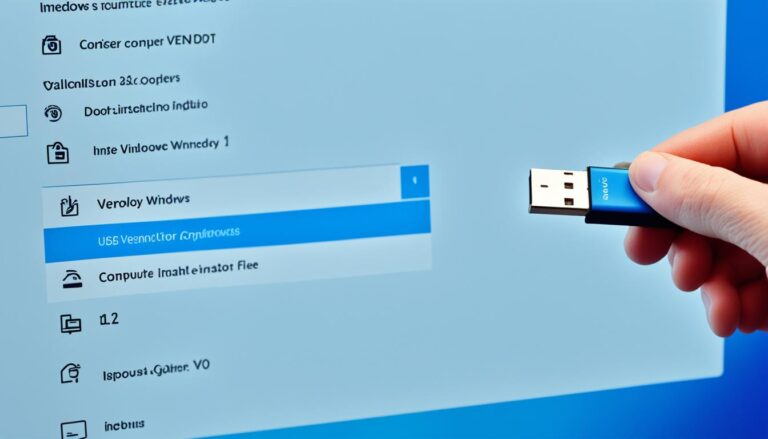
Ventoy is a free tool that lets you use a USB for installing Windows 10. It supports many file types, making it handy and easy to use. It’s perfect for…
For better security and ease of use, it’s crucial to install the fingerprint driver for Windows 10. This driver lets Windows apps read and recognise fingerprints. Our guide makes installing…
Want to install Ubuntu on your Windows 10 but not sure where? You’re in the right place! We’ll show you how to find your Ubuntu installation in Windows 10. This…