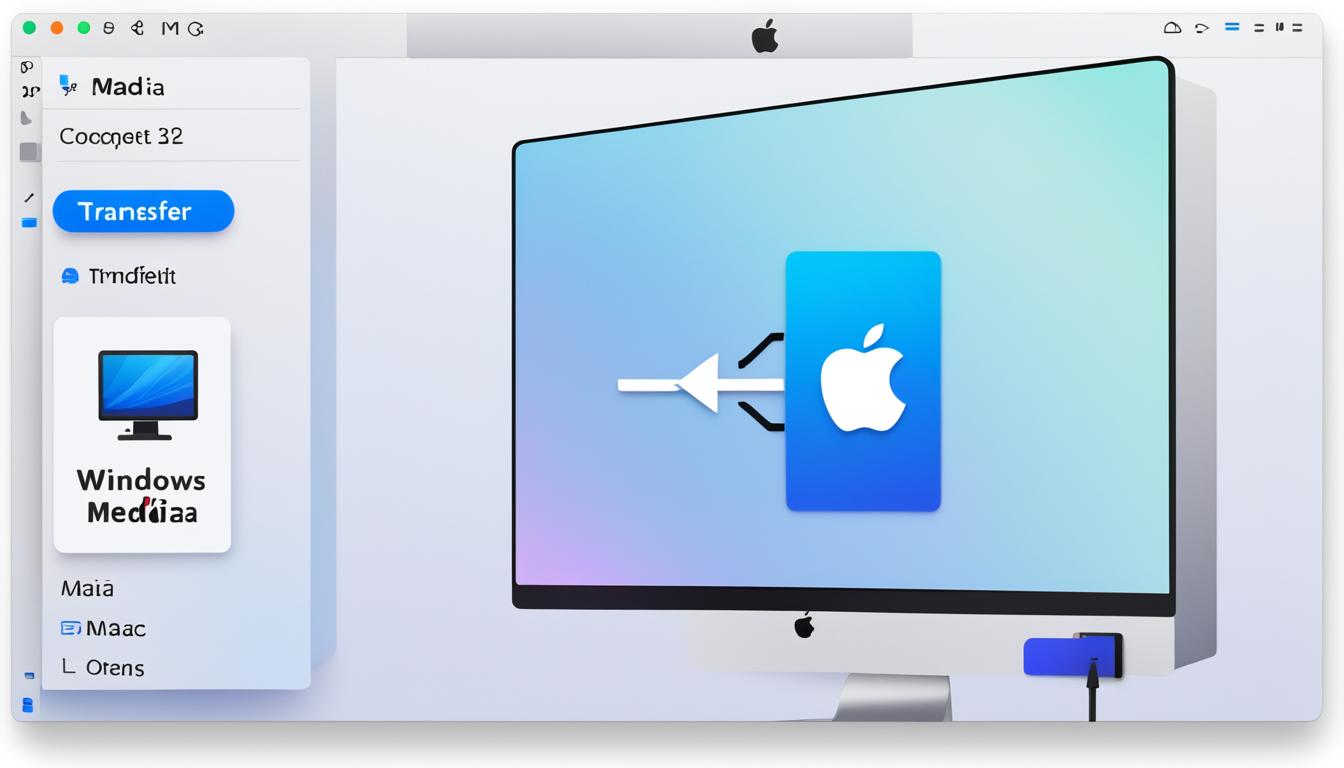
If you own a Mac and wish to create a Windows 11 installation media, several methods exist. WonderISO is highly recommended for its ease and effectiveness. It helps create Windows bootable USB drives on macOS. Another method is using Boot Camp Assistant. This built-in utility lets you make a Windows 11 bootable USB. However, it only works on Intel-based Macs. For those with an Apple M1 chip Mac, you need different options. Virtual machine software like Parallels Desktop or VMware Fusion can help. Remember to grab the right Windows 11 ISO file from the official Microsoft site and have a USB drive ready with enough storage.
To create a Windows 11 bootable USB on a Mac, WonderISO is a great choice. First, pick your Windows 11 ISO file, then connect your USB drive and choose it as the destination. Hit the “BURN” button, wait for the process to end. WonderISO supports the latest macOS versions and creates a bootable USB quickly.
Another way to make a Windows 11 bootable USB on a Mac is Boot Camp Assistant. This route is for Intel-based Macs only. Get the Windows 11 ISO from Microsoft’s official site. Connect your USB, open Boot Camp Assistant, then select “Create a Windows 11 or later install disk”. Choose the ISO file and USB as destination. Boot Camp Assistant then prepares the bootable USB for you, ready to install Windows 11 on another computer.
If your Mac has an Apple M1 chip, turn to virtual machine software like Parallels Desktop or VMware Fusion. First, download the Windows 11 ISO. In your virtual machine software, make a new virtual machine with the Windows 11 ISO. Then, connect your USB drive to the Mac. Use Rufus or the Windows USB/DVD Download Tool within the virtual environment to create the bootable USB. Just follow what’s shown on the screen to finish.
Without Boot Camp Assistant, there’s still a way to make a Windows 11 bootable USB on a Mac. Download the Windows 11 ISO directly from Microsoft. Next, format your USB as MS-DOS (FAT) and choose a Master Boot Record (MBR) scheme in Disk Utility. Then, with a tool like Sysgeeker WonderISO, pick the Windows 11 ISO file as your source and the USB drive as the destination. Just follow the on-screen steps.
Creating a Windows 11 installation media on a Mac lets you install Windows 11 on a different computer easily. You could use WonderISO, Boot Camp Assistant, virtual machine software, or other ways. Just ensure you have the correct Windows 11 ISO file and a USB with enough room. These tools and methods will equip you to create a Windows 11 bootable USB on your Mac. Enjoy the perks of the newest Windows OS.
Using WonderISO to Create a Windows 11 Bootable USB on Mac
If you want to make a Windows 11 bootable USB on your Mac, try WonderISO. It’s easy to use and works well with the latest macOS versions. This makes making your bootable USB straightforward.
Here’s how to use WonderISO for your Windows 11 bootable USB:
- First, get the Windows 11 ISO file on your Mac.
- Then, connect your USB drive to the Mac.
- Open WonderISO and pick the Windows 11 ISO file as your source.
- Select your USB drive as where to put the file.
- Press the “BURN” button to start making the USB.
- Wait a bit for the process to finish, usually a few minutes.
- Safely remove the USB drive from your Mac.
You’ve now got a Windows 11 bootable USB thanks to WonderISO. You can use this USB to set up Windows 11 on any suitable computer. Remember, WonderISO and macOS work well together for a smooth operation.
Here’s a quick guide for using WonderISO:
| Steps | Description |
|---|---|
| 1 | Download the Windows 11 ISO file |
| 2 | Connect the USB drive to your Mac |
| 3 | Select the Windows 11 ISO file as the source |
| 4 | Choose the USB drive as the destination |
| 5 | Click the “BURN” button to start the process |
| 6 | Wait for the burning process to complete |
| 7 | Eject the USB drive from your Mac |
WonderISO makes the process of creating a Windows 11 bootable USB on Mac simple. Just follow the given steps and you’ll be all set to install Windows 11 quickly.
Using Boot Camp Assistant to Create a Windows 11 Bootable USB on Mac
Boot Camp Assistant is a tool built into macOS. It lets you make a Windows 11 bootable USB on a Mac. Remember, Boot Camp Assistant works only on Intel-based Macs, not on Apple Silicon Macs. To start, get the Windows 11 ISO from Microsoft’s website. Then, connect your USB to your Mac and open Boot Camp Assistant.
Next, pick “Create a Windows 11 or later install disk.” Choose the Windows 11 ISO file and your USB as the destination. Boot Camp Assistant will then get your bootable USB ready. You can use this to install Windows 11 on another PC. It’s important to know that Boot Camp Assistant might be tricky for beginners. Troubleshooting might be needed if problems pop up.
Step-by-Step Guide to Using Boot Camp Assistant:
- Download the Windows 11 ISO from the official Microsoft website.
- Connect your USB drive to your Mac.
- Open Boot Camp Assistant.
- Select “Create a Windows 11 or later install disk”.
- Choose the Windows 11 ISO file as the source.
- Select your USB drive as the destination.
- Wait for Boot Camp Assistant to create the bootable USB drive.
- Eject the USB drive.
Boot Camp Assistant is super helpful for Mac users needing a Windows 11 bootable USB. Yet, this tool only works with Intel-based Macs, not Apple Silicon Macs. The process can be a bit complex for new users. If you face issues or have an Apple Silicon Mac, try looking into other options. You might want to check out virtual machine software or third-party tools.
Using Virtual Machine Software to Create a Windows 11 Bootable USB on Mac
If your Mac is new with an Apple M1 chip and you can’t use Boot Camp Assistant, don’t worry. You can still make a Windows 11 bootable USB using tools like Parallels Desktop or VMware Fusion. It’s quite straightforward:
- First, grab the Windows 11 ISO from the Microsoft website.
- Then, launch your chosen virtual machine software and set up a new machine. Use the Windows 11 ISO file for setup.
- Next, plug your USB drive into the Mac.
- In the virtual machine, select a tool such as Rufus or the Windows USB/DVD Download Tool.
- Choose your USB drive as the target, and the Windows 11 ISO as the source.
- Just follow what the screen tells you until you’re done.
By doing this, you’ll get a Windows 11 bootable USB. You can use it to install Windows 11 on another computer.
Comparison of Virtual Machine Software
| Feature | Parallels Desktop | VMware Fusion |
|---|---|---|
| Compatibility with macOS | ✅ | ✅ |
| Windows 11 Installation Support | ✅ | ✅ |
| User-Friendly Interface | ✅ | ✅ |
| Performance | ⭐⭐⭐⭐⭐ | ⭐⭐⭐⭐ |
| Advanced Features | ⭐⭐⭐ | ⭐⭐ |
Parallels Desktop and VMware Fusion are great for making a Windows 11 bootable USB on a Mac. They work well with macOS and help install Windows 11. Their interfaces are easy to use, simplifying the USB creation process.
Virtual machine software enables you to run Windows 11 on your Mac with ease. It’s handy for making bootable USBs for installing on other PCs.
Creating a Windows 11 Bootable USB on a Mac without Boot Camp Assistant
If you want to create a Windows 11 bootable USB on a Mac without using Boot Camp Assistant, you can follow this alternative method. Start by downloading the Windows 11 ISO from the official Microsoft website. Then, format your USB drive as MS-DOS (FAT) with a Master Boot Record (MBR) scheme using Disk Utility on your Mac.
Next, download a third-party utility like Sysgeeker WonderISO to create the bootable USB. Launch the tool and select the Windows 11 ISO file as the source and your USB drive as the destination. Follow the on-screen instructions to complete the process. Once done, safely eject the USB drive. It will be ready for use as a bootable media for installing Windows 11 on a different PC. You can create a Windows 11 bootable USB even on Apple Silicon Macs with this method.
With this method, you can bypass the limitation of Boot Camp Assistant and create a Windows 11 bootable USB on your Mac. By formatting the USB drive correctly and using a third-party utility like WonderISO, you ensure compatibility. This method creates a reliable bootable media. Whether you have an Intel-based Mac or the latest Apple Silicon Mac, you can install Windows 11 on a different PC seamlessly.
Conclusion
There are various ways to create a Windows 11 installation media on a Mac. WonderISO is great for its simple and efficient process. It helps in making bootable USB drives on macOS. For Intel-based Macs, Boot Camp Assistant is a handy built-in utility. Alternatively, Apple Silicon Mac users can rely on Parallels Desktop or VMware Fusion.
It’s vital to check the compatibility of the Windows 11 ISO file and USB drive with your Mac. This ensures a smooth and successful bootable USB creation. Once created, the Windows 11 bootable USB lets you install Windows 11 on another PC. This offers an easy way to set up across different platforms.
By taking the right steps and using the correct tools, creating a Windows 11 bootable USB on your Mac is straightforward. This allows you to enjoy Windows 11’s new features and functionalities on your chosen PC.
FAQ
Can I create a Windows 11 bootable USB on a Mac?
Yes, you can. There are different ways to make a Windows 11 bootable USB on a Mac.
What is WonderISO?
WonderISO is a tool recommended for making a Windows 11 bootable USB on a Mac. It’s simple to use and very effective.
How do I use WonderISO to create a Windows 11 bootable USB on a Mac?
Just choose your Windows 11 ISO file, plug in your USB drive, and pick it as the destination. Hit the “BURN” button, then wait until it’s done.
Can I use Boot Camp Assistant to create a Windows 11 bootable USB on a Mac?
Yes, you can. Boot Camp Assistant is a utility in macOS for Intel-based Macs. It lets you make a Windows 11 bootable USB.
How do I use Boot Camp Assistant to create a Windows 11 bootable USB on a Mac?
Download the Windows 11 ISO from Microsoft’s site, attach your USB drive to your Mac, and open Boot Camp Assistant. Choose “Create a Windows 11 or later install disk.” Then, pick the ISO file and USB drive as the destination.
Can I create a Windows 11 bootable USB on a Mac with an Apple M1 chip?
Yes, if your Mac has an Apple M1 chip and lacks Boot Camp Assistant, use virtual machine software like Parallels Desktop or VMware Fusion.
How do I create a Windows 11 bootable USB on a Mac with an Apple M1 chip?
First, get the Windows 11 ISO from Microsoft’s site. Then, in your virtual machine software, create a new machine using the Windows 11 ISO. Attach your USB to the Mac. Inside the virtual machine, use Rufus or Windows USB/DVD Download Tool to make the bootable USB.
Can I create a Windows 11 bootable USB on a Mac without using Boot Camp Assistant?
Yes, without Boot Camp Assistant, you can still make a Windows 11 bootable USB on a Mac. Download the Windows 11 ISO from Microsoft, format your USB as MS-DOS (FAT) with an MBR scheme using Disk Utility, and use a utility like Sysgeeker WonderISO.
Is creating a Windows 11 bootable USB on a Mac compatible with Apple Silicon Macs?
Yes, making a Windows 11 bootable USB on a Mac works with Apple Silicon Macs. You can use virtual machine software or third-party tools.
