Microsoft has specific hardware needs for Windows 11, like TPM 2.0, certain CPUs, and enough RAM. Yet, there’s a way for users with older hardware to install it. They can use Rufus, a tool known for making USB drives bootable from ISO images.
Rufus provides options to skip the usual installation checks. However, remember that installing Windows 11 on unsupported devices might make them run slower and cause other problems.
How to Use Rufus to Create a Bootable USB for Windows 11
To get Windows 11 on PCs that are not supported, use Rufus by following these steps:
Get the Windows 11 ISO file from its official site.
Grab the latest Rufus version from its official site.
Insert a USB flash drive with no vital data on it.
Open Rufus and choose the USB as the device.
Pick the Windows 11 ISO file in Rufus.
Hit “Start” to make the bootable USB drive.
Rufus will turn off checks for TPM, CPUs, and RAM.
Once done, the USB drive is ready to install Windows 11 on PCs that are not supported.
Making a bootable USB with Rufus lets you put Windows 11 on PCs not usually supported. Just follow the steps, using official sources for the Windows 11 ISO file and Rufus. This makes sure your installation works well.
Why Use Rufus for Windows 11 Installation?
Rufus is a trusted tool for making bootable USBs from ISO images. It’s easy to use and offers many custom options. Rufus helps you get past compatibility checks to install Windows 11 on unsupported PCs.
But, using this method might make your PC run slower or cause other problems. This happens if your hardware doesn’t match the official specs needed.
Before you try to install Windows 11 on unsupported PCs, make sure TPM and Secure Boot are on. These settings are key for working with Windows 11 and help the setup go smoothly.
Checking TPM Settings
Restart the computer and access the BIOS settings (usually by pressing Esc, F1, F2, or F12 during boot).
Look for settings related to TPM (Trusted Platform Module) in the BIOS menu.
If TPM settings are available, enable TPM.
Save the changes and exit the BIOS.
Checking Secure Boot Settings
Restart the computer and access the BIOS settings.
Locate the Secure Boot settings in the BIOS menu.
If Secure Boot settings are available, enable Secure Boot.
Save the changes and exit the BIOS.
By turning on both TPM and Secure Boot, your PC will be ready for Windows 11. These settings also boost your system’s security and stop unwanted access.
It’s important to note that TPM and Secure Boot settings may vary depending on your computer’s manufacturer and BIOS version. Refer to the motherboard or computer manual for specific instructions on enabling these settings.
After you’ve checked and activated TPM and Secure Boot, you can go ahead with the Windows 11 install on unsupported PCs.
Bypassing Requirements with the Registry Editor
If you have an older TPM version or an unsupported CPU, you might want to bypass the Windows 11 requirements. You can do this using the Registry Editor.
Steps to Bypass Windows 11 Requirements:
Download the Windows 11 ISO file.
Open the Registry Editor by typing “regedit” in the Start menu search bar.
Navigate to HKEY_LOCAL_MACHINE\SYSTEM\Setup\MoSetup.
Right-click on the right-side pane and create a new DWORD value called “AllowUpgradesWithUnsupportedTPMOrCPU”.
Set the value of the new DWORD to 1 and close the Registry Editor.
Mount the Windows 11 ISO as a virtual drive.
Run the setup file from the mounted drive and proceed with the installation.
Changing registry values to bypass Windows 11 needs is a complex step. It should be done carefully. This might cause your system to be unstable or have compatibility issues. Make sure you have a backup of crucial data before you start.
Installing Windows 11 with Launch Parameters
If you don’t have a USB drive, installing Windows 11 with launch parameters is an option.
Download the Windows 11 ISO file.
Double-click and mount the ISO as a virtual drive.
Take note of the drive letter assigned to the mounted ISO.
Open a Command Prompt window.
Run the Windows 11 installer as if it were a Windows Server installer using the command: “setup.exe /pkey NBTWJ-3DR69-3C4V8-C26MC-GQ9M6” (replace X with the drive letter from step 3).
This method bypasses the compatibility checks but may lead to compatibility and driver issues.
Only advanced users who understand the risks should try it.
Installing Windows 11 with launch parameters allows installation without a USB drive. However, it may cause compatibility issues and driver conflicts. Make sure you’re aware of the risks before trying this method.
Compatibility Issues with Launch Parameters
Compatibility Issue
Solution
Driver Conflicts
Update drivers to the latest versions compatible with Windows 11.
Software Compatibility
Check and update software to ensure compatibility with Windows 11.
Missing Features
Some features might not be available due to hardware limits.
Follow these steps to install Windows 11 without a USB. Make sure to back up important data. Move with caution to avoid problems.
Conclusion
You can put Windows 11 on PCs that don’t officially support it by using a tool called Rufus for a bootable USB drive. This lets you get past the usual hardware checks. Still, it’s worth noting that using older or less powerful PCs might lead to less smooth performance. It’s always best to meet the recommended hardware specs to enjoy Windows 11 fully.
Enhancing Performance on Unsupported PCs
If your PC doesn’t meet the specs for Windows 11, think about upgrading your hardware instead of bypassing the rules. By boosting your CPU, increasing your RAM, and ensuring your TPM is up-to-date, you can make Windows 11 run better. These upgrades help make your PC’s performance with the operating system more reliable and smoother.
“Upgrading your hardware components not only ensures compatibility with Windows 11 but also future-proofs your PC for upcoming software releases.”
Choosing to install Windows 11 on hardware that isn’t supported comes with risks. You might run into trouble with compatibility and find some features and performance lacking. Always back up your data before you start changing your system in big ways.
Pros
Cons
Ability to install Windows 11 on unsupported PCs.
Access to the latest features and updates.
Flexibility to choose your preferred hardware configuration.
Performance may be slower on older or underpowered hardware.
Compatibility issues with certain drivers and software.
Potential security vulnerabilities due to unsupported hardware.
Deciding to use Rufus to install Windows 11 on PCs that don’t officially support it depends on you. Think carefully about the pros and cons. Consider what you need and what you can give up. It’s crucial to know what you’re giving up before you start the installation.
References:
For more detailed information on installing Windows 11 and downloading Rufus, check these sources:
These sources give you step-by-step instructions, tips for troubleshooting, and more insights. They help you install Windows 11 and make a bootable USB with Rufus. Be sure to follow the directions for a smooth setup.
Frequently Asked Questions:
Got any questions or face troubles while installing Windows 11 or using Rufus? Feel free to ask in the comments. Our team and other readers will help you out. For detailed answers, look at the Windows 11 installation guides we mentioned.
Frequently Asked Questions
This article gives you a good look at installing Windows 11 on unsupported PCs with Rufus. You might still have some questions. Here are the answers to some common queries about Windows 11 installation:
Q: Can I use Rufus to install Windows 11 on any PC?
A: No, Rufus can make a bootable USB for Windows 11. But, it can’t skip all hardware checks. Make sure your PC fits the minimum requirements for a smooth setup.
Q: What problems might happen if I install Windows 11 on unsupported computers?
A: Installing Windows 11 on unsupported PCs can cause issues. These include slow performance and stability problems. For the best experience, it’s wise to meet the proper hardware specifications.
Q: How can I find detailed guides on installing Windows 11?
A: For detailed installation info on Windows 11, look at official Microsoft documentation. Or, search for reliable sources that offer step-by-step guides tailored to your PC setup or needs.
If you have more questions or need extra help, don’t hesitate to ask in the comments below. Or, check out the relevant installation guides. We’re here to assist!
FAQ
Can I install Windows 11 on an unsupported PC using Rufus?
Yes, Rufus can create a bootable USB to install Windows 11 on such PCs. But, be aware it might slow down performance and cause problems.
How do I create a bootable USB for Windows 11 using Rufus?
To use Rufus for a Windows 11 bootable USB, do this:
First, get the Windows 11 ISO from its official site.
Then, download Rufus from its site.
Next, plug your USB stick in and make sure it’s empty.
Open Rufus, select your USB, and choose the ISO file.
Finally, hit “Start” to begin the USB creation.
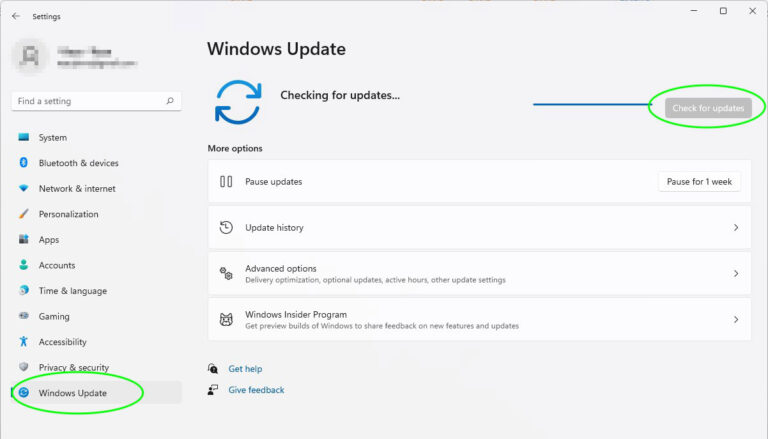
How can I check if TPM and Secure Boot are enabled for Windows 11?
For checking TPM and Secure Boot, restart your PC and open BIOS settings. This is usually done by hitting Esc, F1, F2, or F12 as your computer starts.
Then, find the TPM and Secure Boot options. If you find them, switch them on. Remember to save your changes before exiting BIOS.
Can I bypass Windows 11 requirements using the Registry Editor?
Yes, using the Registry Editor can skip Windows 11’s needs. But, it’s risky and might cause issues with compatibility and drivers.
How do I install Windows 11 with launch parameters?
For installing Windows 11 with parameters, start by downloading the ISO file.
Mount it as a drive next. Note down its drive letter.
Open Command Prompt. Run the Windows 11 setup as a server installer. Use the command: “setup.exe /pkey NBTWJ-3DR69-3C4V8-C26MC-GQ9M6”, replacing X with your drive letter.
What are the risks of installing Windows 11 on unsupported PCs using Rufus?
Using Rufus for Windows 11 on unsupported PCs might lead to lag and other issues due to old or weak hardware.
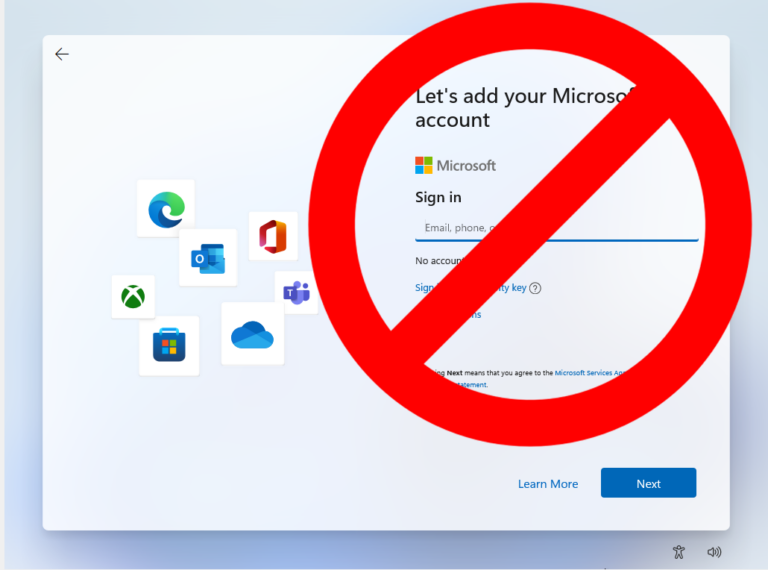
Want to install Windows 11 22H2 but don’t have a Microsoft account? No problem. There are ways to get around the Microsoft account need during setup. We’ll show you how…
Welcome to our guide on how to install Ubuntu alongside Windows 11. This setup lets you enjoy the best of both worlds by switching between the two systems easily. It’s…
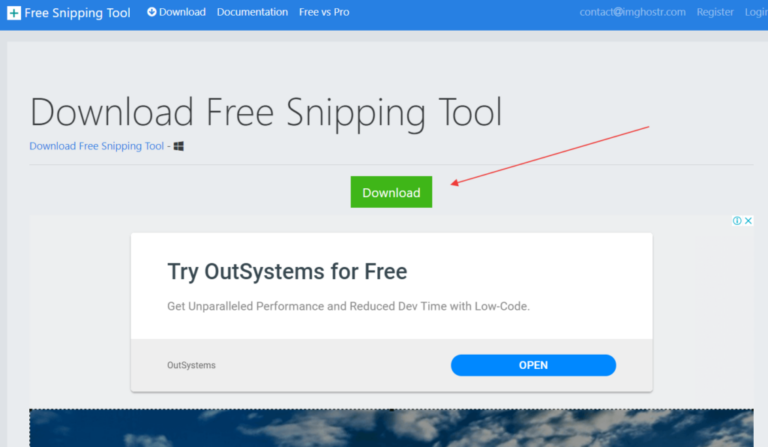
The Snipping Tool is a built-in app for screenshots in Windows 10 and 11. It lets you capture shots, mark them, and share quickly. Here’s how to get it on…
After you install Windows 11, you must do a few important things. These steps boost performance, make your system safer, and give you a better experience. They help you change…
Windows 11 usually needs a Microsoft account to log in during setup. But, you might want to use a local account instead. This could be for a child’s PC, a…