Microsoft has stopped supporting Windows 7. However, you might still need to use it. Creating a Windows 7 virtual machine on Windows 10 can solve this problem. This process lets you run Windows 7 inside Windows 10 smoothly. MiniTool Partition Wizard offers a detailed guide for this.
Using a virtual machine, you can use old software while still enjoying Windows 10. Virtualization technology lets you make a virtual machine that acts like a different system, for example, Windows 7. So, you can use Windows 7 apps on Windows 10 without needing another PC or dual booting.
Next, we’ll cover the prep work needed and how to make a Windows 7 virtual machine. We will use programs such as Hyper-V, VirtualBox, and VMware. Each has its own requirements and setup steps. You can pick the one that fits your needs best.
Preparatory Work
Before creating a Windows 7 virtual machine, you must complete a few steps. These steps are crucial for a smooth setup.
Step 1: Download the Windows 7 ISO File
You need to get a Windows 7 ISO file from a good source. Choose a source you can trust for a genuine file. This file has all you need to start setting up the virtual machine.
Step 2: Install a Virtual Machine Program
Now, install a virtual machine program on your PC. You have a few to choose from, like VirtualBox and VMware. These programs let you make, control, and run virtual machines. Pick one that fits your needs and follow its setup guide.
Step 3: Create a Dedicated Partition
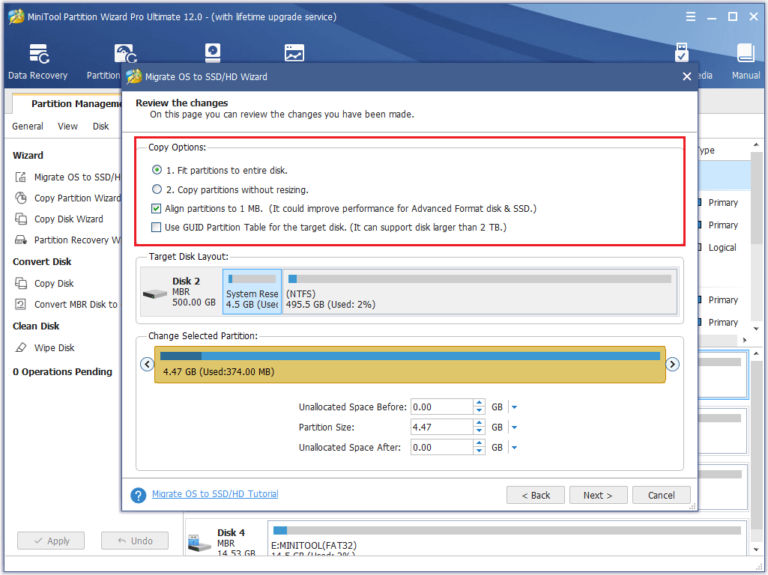
It’s wise to make a special partition on your hard drive for the virtual machine. This keeps your virtual machine running well and stops disk fragmentation. A dedicated partition also prevents problems with other files and programs on your PC.
To make this partition, use a partition tool like MiniTool Partition Wizard. It helps you resize, make, and handle partitions easily. Use the tool as directed to make one for your virtual machine.
With these steps done, you’re set to build your Windows 7 virtual machine. They help make sure you have everything ready for a smooth operation.
Creating a Windows 7 Virtual Machine Using Hyper-V
Hyper-V, found in Windows 10 (Pro, Enterprise, and Education), lets you make a Windows 7 virtual machine. First, check that your PC has enough RAM and a good processor for this task.
Make sure to update Windows 10 before you start. This ensures everything works well and Hyper-V can be used. Once updated, you can start setting up.
- Enabling Hyper-V:
- Open the Control Panel and go to “Programs” -> “Programs and Features” -> “Turn Windows features on or off.”
- Choose “Hyper-V” and click “OK” to turn it on.
- Restart your computer to apply the changes.
- Creating a Virtual Switch:
- Find Hyper-V Manager in the Start menu and open it.
- Click “Virtual Switch Manager” in the Hyper-V Manager Actions pane.
- Pick “New virtual network switch” and select the right type (Internal, External, or Private).
- Set it up by following the instructions on the screen.
- Configuring the Virtual Machine:
- In Hyper-V Manager, click “New” to begin making a virtual machine.
- Choose a name and a place for the virtual machine.
- Decide how much memory and disk space it should have.
- Link it to the virtual switch you made earlier.
- Installing Windows 7:
- Attach the Windows 7 ISO to your virtual machine.
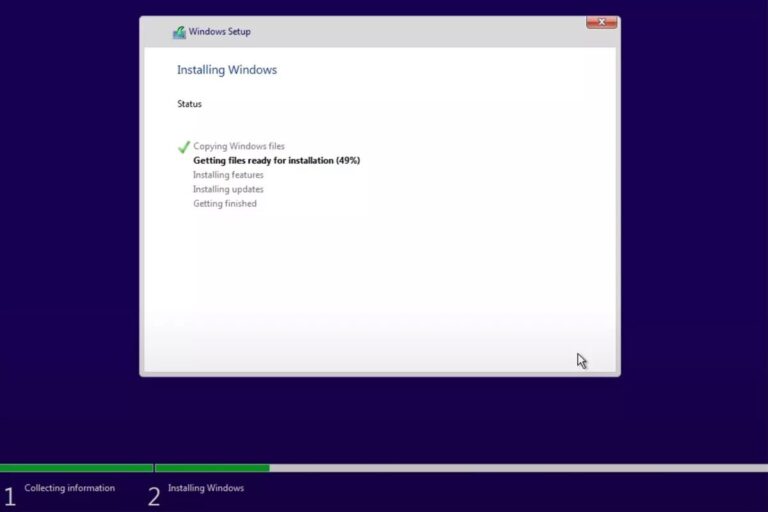
- Boot up the virtual machine and install Windows 7 by following the guide.
- Finish by entering required details like the license key and user preferences.
After installation, you can use Windows 7 on your Windows 10 PC. This way, you enjoy features from both systems.
By using Hyper-V, setting up a Windows 7 virtual machine on Windows 10 is straightforward. It’s great for running old software or for special tasks that need Windows 7.
Creating a Windows 7 Virtual Machine Using VirtualBox
VirtualBox is a well-known tool for making virtual machines. It works on many Windows versions. With it, creating a virtual Windows 7 on Windows 10 is simple. Here are the steps to start.
Step 1: Install VirtualBox
First, download and set up VirtualBox on your Windows 10 PC. Get the latest version from the official VirtualBox website. Follow the given instructions carefully. Check that your PC has enough system requirements, like RAM and space.
Step 2: Create a New Virtual Machine
After installing, open VirtualBox. Click “New” to make a new virtual machine. You’ll need to give it a name and pick the operating system type. Choose “Windows 7” for the OS.
Step 3: Configure Virtual Machine Settings
Now, set up your virtual machine’s options. This means deciding the amount of RAM, making a hard disk, and tweaking other settings.
Step 4: Load the Windows 7 ISO File
Next step is to get the Windows 7 ISO file ready. In VirtualBox, pick your virtual machine and hit “Settings”. Go to the “Storage” section, click the “Empty” CD/DVD icon. Press the disk icon on the right, choosing “Choose a disk file”. Pick the Windows 7 ISO file from your PC.
Step 5: Install Windows 7
With the ISO file set, you can now install Windows 7. Turn on the virtual machine by choosing it and clicking “Start”. Just follow the instructions on your screen to finish the setup.
Making a Windows 7 virtual machine with VirtualBox is easy and useful. Once done, you can use Windows 7 and old software on your Windows 10 machine.
Creating a Windows 7 Virtual Machine Using VMware
VMware is known for its virtual machine software. It has both free and paid versions to meet different needs. Here are the steps to create a Windows 7 virtual machine using VMware:
- Launch VMware Workstation.
- Create a new virtual machine by selecting “New Virtual Machine” from the File menu.
- Choose either “Typical” or “Custom” based on your needs and know-how.
- Choose where to save the virtual machine’s files and name it.
- Decide on the amount of RAM and the number of processors for the virtual machine.
- Pick the network type that fits your setup and internet needs.
- Adjust extra hardware settings, like hard drive size and video memory.
- Finish making the virtual machine.
- With the virtual machine ready, proceed to install Windows 7. Use the Windows 7 ISO file.
- Boot the virtual machine and follow the setup guide to install Windows 7.
VMware lets you use advanced features to run Windows 7 on Windows 10. You can fine-tune the settings for better performance and to meet your precise needs.
After installing, you’ll enjoy running Windows 7 on a VMware virtual machine. It’ll work smoothly alongside your Windows 10 system.
| Advantages | Disadvantages |
|---|---|
| Supports advanced features and customization options | Paid versions may require additional investment |
| Offers smooth integration with Windows 10 | Needs the right hardware setup |
| Provides efficient resource allocation | Some technical skills may be needed |
Conclusion
Running a Windows 7 virtual machine on Windows 10 is a smart choice for using older software. This guide shows you how to make a Windows 7 virtual machine. You can use Hyper-V, VirtualBox, or VMware to do it.
Virtualization makes it easy to use Windows 7 with Windows 10. This way, you can keep using important older software. At the same time, you can enjoy Windows 10’s newest features and better security.
You can pick Hyper-V, VirtualBox, or VMware for your virtual machine. Each option gives you what you need to set up and look after your Windows 7 virtual machine. Virtualization lets you use the best parts of Windows 10 fully.
FAQ
Can I run Windows 7 on Windows 10?
Yes, you can use Windows 7 on Windows 10. You do this by creating a virtual machine. This needs virtualization technology.
What preparations do I need to make before creating a Windows 7 virtual machine?
Before making a Windows 7 virtual machine, get a Windows 7 ISO file from a safe place. You also need to install a program for creating virtual machines. It’s good to make a special partition for it.
How can I create a Windows 7 virtual machine using Hyper-V?
To use Hyper-V for a Windows 7 virtual machine, first check your PC’s hardware is compatible. Update Windows and turn on Hyper-V.
Create a virtual switch. Then set up your virtual machine. After this, use the Windows 7 ISO file to install Windows 7 on it.
How can I create a Windows 7 virtual machine using VirtualBox?
For a Windows 7 virtual machine in VirtualBox, install VirtualBox. Create a new virtual machine and set it up.
Next, put in the Windows 7 ISO file. Now, you can install it.
How can I create a Windows 7 virtual machine using VMware?
With VMware, start VMware Workstation. Make a new virtual machine and set it up.
Like with VirtualBox, use the Windows 7 ISO to finish the setup.


