Welcome to our guide on installing WAMP on Windows 10. This is great if you’re a web developer wanting to set up a test environment. WAMP, which stands for Windows, Apache, MySQL, and PHP, makes installing these components easy. It allows you to create a local testing ground for your websites.
This way, you can test code, plugins, and designs before they go live. We’ll guide you through setting up WAMP, what you need beforehand, and how to configure it. Let’s get your Windows 10 ready for smooth web development with WAMP.
Are you ready to install WAMP on your Windows 10 computer? Let’s jump into it!
Before installing WAMP server on Windows 10, you need to check a few things. It’s important to have the Microsoft Visual C++ Redistributable packages. They help the WAMP server work correctly.
To install WAMP server, ensure these Microsoft Visual C++ Redistributable packages are installed:
Microsoft Visual C++ 2008 Redistributable Package
Microsoft Visual C++ 2010 Redistributable Package
Microsoft Visual C++ 2012 Redistributable Package
Microsoft Visual C++ 2013 Redistributable Package
Microsoft Visual C++ 2015 Redistributable Package
Microsoft Visual C++ 2017 Redistributable Package
These packages provide the parts the WAMP server needs. They ensure a smooth setup and stop any issues from happening.
Remember to install these packages first. Then, you’re set to install the WAMP server on Windows 10. This will let you start on your web projects.
Installation Process of WAMP Server
Setting up a WAMP server involves a few steps. These enable web developers to create a local testing area. Just follow these steps to get WAMP server up and running smoothly:
Download WAMP Server: Start by getting the WAMP server from its official site. Go to the site and find the download link for the newest stable version. Click it to start downloading.
Launch the Installation: After downloading, find the file and double-click it. This will open the WAMP server installation wizard.
Select Preferred Language: The wizard will then ask you to pick a language you’re comfortable with. Choose and move to the next stage.
Accept License Agreement: Carefully read the license agreement next. Accept the terms to move forward with installing.
Choose Installation Location and Components: The wizard will ask where to install WAMP server on your PC. Pick a spot that works for you and choose what to install, like Apache, MySQL, and PHP.
Select Default Browser and Text Editor: You can pick a default web browser and text editor for use. Choose what you prefer and continue.
Complete the Installation: After making your selections, hit the “Finish” button. WAMP server will be installed on your Windows 10 machine.
Now that you’ve installed the WAMP server, you can move on to making sure it runs well for your web projects.
Configuration Process of WAMP Server
After installing the WAMP server, you must set it up correctly. This ensures it works well and all services run without issues.
To start setting up, open the WAMP server using its shortcut. You can find this on the desktop or in the Start menu. Just double-click the shortcut to get going.
When the server is up, check the WAMP server icon in the taskbar. A green icon means everything is okay. A red or orange icon means there might be trouble with Apache or MySQL.
If Apache and MySQL have problems, you must fix them fast. Go to the WAMP server interface to adjust Apache and MySQL settings. Here, you can sort out any issues.
Changing the Default Port of Apache
Open the WAMP server installation directory on your computer.
Find the “httpd.conf” file in the “conf” folder.
Open the “httpd.conf” file in a text editor.
Look for “Listen 80”, the default Apache port.
Change the port to a new number (e.g., Listen 8080).
Save the changes and restart the WAMP server to apply them.
Disabling Internet Information Services (IIS)
Sometimes, Apache might clash with Internet Information Services (IIS) on your PC. If so, you should turn off IIS.
Open the Control Panel on your Windows system.
Navigate to “Programs” or “Programs and Features”.
Choose “Turn Windows features on or off” or “Windows Features”.
Find the “Internet Information Services” option.
Deselect “Internet Information Services” to turn it off.
Click “OK” and wait for the PC to apply the change.
Restart your computer to confirm IIS is off.
By taking these steps, you ensure the WAMP server runs smoothly. Always save your changes and restart the server when needed.
Next, Section 5 talks about the benefits of using WAMP server for web development and testing.
Why Use WAMP Server?
Web developers find the WAMP server very beneficial. It bundles Apache, MySQL, and PHP, simplifying installation and setting up. Instead of grappling with each component separately, developers can set up a local test environment quickly. Here, they can play around with their website’s code, design, and plugins safely before launching it publicly.
Enhancing Web Development Efficiency and Productivity
Apache, MySQL, and PHP combined in the WAMP server streamline web development. It saves time by avoiding individual installations of each component. This lets developers focus more on building responsive designs, optimizing databases, and adding dynamic features to websites.
Setting up the WAMP server is hassle-free and supports PHP extensively. This means developers can tap into PHP’s wide community and resources smoothly. The server ensures that its components work well together, cutting down on compatibility issues.
Facilitating Website Testing and Troubleshooting
The WAMP server excels at effective website testing. It simulates real use conditions, allowing developers to spot and fix issues early. It helps ensure that the website performs well across various browsers and devices.
This server also gives a safe space for trying out updates and new functions. Developers can debug and apply fixes without affecting the live site. It promotes a testing-first approach, reducing errors and enhancing the quality of the final product.
Collaboration and Knowledge Sharing Opportunities
The WAMP server makes working together and sharing knowledge among developers easier. It offers a consistent environment that aids in troubleshooting and reviewing code. This boosts team productivity and makes projects run smoother.
Its widespread use and community support open up great learning and problem-solving resources. Developers can draw from the community’s experiences to stay current with web development trends. This encourages skill growth and the creation of innovative websites.
Key Benefits of Using WAMP Server
Benefits
Description
Simplified Installation
The bundled package reduces the need to individually install and configure components, saving time and effort.
Localized Testing Environment
Enables the creation of a secure and isolated testing environment for websites, allowing for thorough debugging and troubleshooting.
Efficiency and Productivity
Facilitates streamlined web development processes, enabling developers to focus on creating innovative features and layouts.
Collaboration and Knowledge Sharing
Provides a standardized platform for collaboration and knowledge sharing among web developers.
Conclusion
Setting up the WAMP server on Windows 10 is easy. It helps web developers build and test PHP sites locally. This guide shows how to skip the manual setup of Apache, MySQL, and PHP.
The WAMP server makes setting up servers simpler. It lets developers concentrate on their websites. They can create, change, and test PHP projects without hassle.
The WAMP server is great for all web developers. It makes setting up a local test environment easy. This tool boosts creativity and helps perfect websites before they go live. Start using WAMP server on Windows 10 for efficient web projects.
FAQ
What is WAMP?
WAMP is a free tool that helps PHP developers work on Windows 10. It consists of Windows, Apache, MySQL, and PHP. It’s mainly used to check websites before they go live.
Why do I need to install Microsoft Visual C++ Redistributable packages before installing WAMP server?
Before setting up WAMP server, you must install Microsoft Visual C++ Redistributable packages. They ensure the server runs without any issues.
How do I install WAMP server on Windows 10?
First, download WAMP server from the official site. Then, open the file to start setting it up on your computer.
Choose your language, agree to the terms, and pick where you want it installed. You also select your preferred browser and text editor. Click “Finish” to end the installation.
How do I configure the WAMP server after installation?
Once WAMP server is installed, launch it via its shortcut. Look at the WAMP server icon’s color on the taskbar to check if everything’s working.
If there’s a problem with Apache or MySQL services, follow the given steps to fix them. These include changing Apache’s default port and turning off Internet Information Services.
Why should I use the WAMP server for web development?
WAMP server packs Apache, MySQL, and PHP into one. It simplifies installing and setting up these components separately.
It gives web developers a local area to test their sites. This lets them tweak the code, plugins, and design before the site goes public.
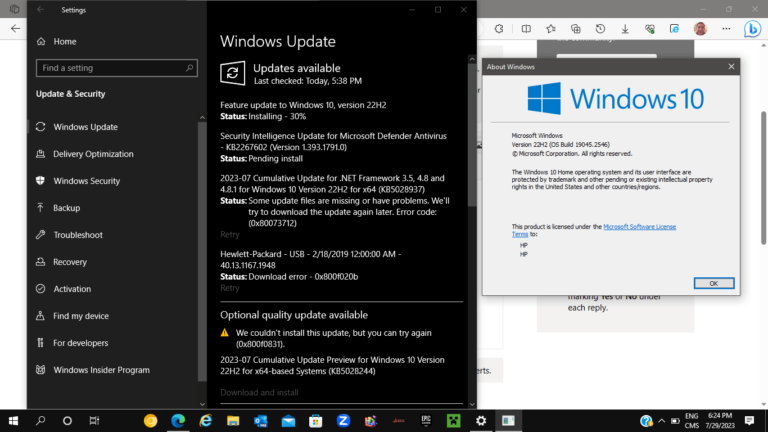
If you’re struggling with Windows 10 version 22H2 updating over and over, don’t worry. This can lead to lost data and annoyance. But, there are ways to fix it. Following…
Installing Windows 10 on a new hard drive is simple and necessary. It helps move smoothly to the newest operating system. This guide is for those who have either bought…
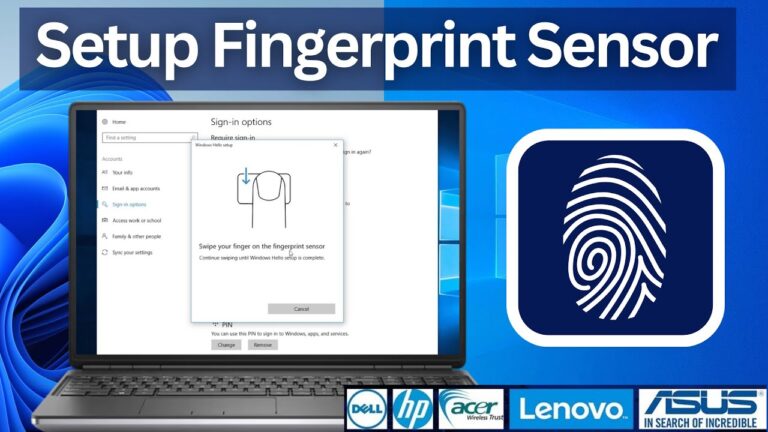
For better security and ease of use, it’s crucial to install the fingerprint driver for Windows 10. This driver lets Windows apps read and recognise fingerprints. Our guide makes installing…
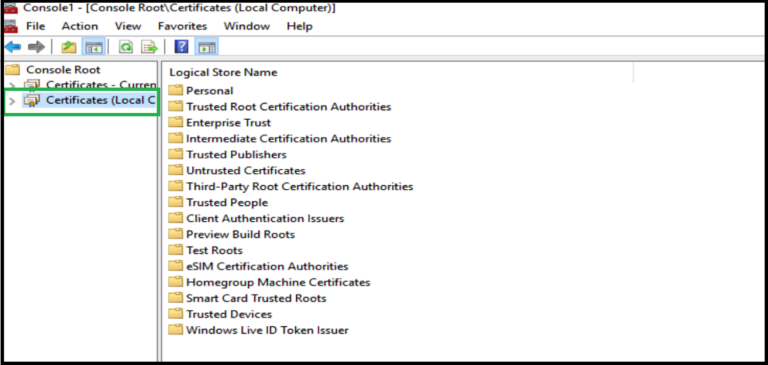
Securing your Windows 10 system is crucial, and a digital certificate is key. This certificate ensures safe communication between your browser and websites. It keeps your info safe and fends…
When you try to install, uninstall, or update a program on Windows, you might see error messages. These messages indicate that the installation was cancelled. You may see errors like…
Welcome to our guide on installing Internet Information Services (IIS) on Windows 10. This guide is for developers and IT professionals. We’ll show you how to install IIS step-by-step. This…