Welcome to our easy-to-follow guide on installing Windows 10 on the Dell Optiplex 7010. Whether you’re updating your system or installing for the first time, we’re here to help. You’ll learn how to install Windows 10 step by step. This guide is great for both tech experts and beginners.
Putting Windows 10 on your Dell Optiplex 7010 is simple. You can use USB drives or DVDs. If you’re not sure which method to pick, don’t worry. We’ll help you decide what’s best for your situation.
We’ll take you through each step. You’ll learn how to pick your language, select the right spot for installation, customise settings, and set up a Microsoft account. We’ve made sure our instructions are clear and tested.
At Dell, we care about your experience. If you have questions or hit a snag, our support team is ready to help. You can reach out to us on our website or social media. We aim to make this installation smooth for you.
Let’s begin! By following this guide, you’ll soon have Windows 10 running on your Dell Optiplex 7010. Look forward to better speed, strong security, and an easy-to-use interface. Upgrade your computer skills with us today.
Installing Windows 10 on the Dell Optiplex 7010 is easy with external media. This method is great if you’re changing the hard drive. Or if you can’t get Windows 10 or its recovery tools otherwise. There are a few steps to follow for a smooth installation.
Select the media device: Start by putting the USB drive or DVD with Windows 10 into the computer. Check that it connects well to the Dell Optiplex 7010.
Choose language and preferences: You’ll be asked to pick a language and other settings. This tailors the Windows 10 setup to your liking.
Select the installation partition: Then, decide where you want Windows 10 to go. Be careful if there’s data on that part of the drive, as it might get deleted.
Customize settings: You’ll get to adjust things like privacy and updates during setup. Go over these choices and change them to suit you.
Create a Microsoft account: Windows 10 lets you sign in with a Microsoft account for more features. You can make a new one or use an existing account.
Once the setup is done, Windows 10 will add the right drivers for the Dell Optiplex 7010. You can also use Dell Digital Delivery. This reinstalls any software you bought with the computer.
Re-Imaging Guide for Dell Optiplex 7010
Re-imaging is essential for the Dell Optiplex 7010. It means deleting and reinstalling all software. It’s particularly useful if software is corrupt or needs removing. Dell provides a detailed re-imaging guide for system administrators.
This guide covers installing Dell’s suggested software and settings. It includes drivers and apps for the Dell Optiplex 7010. By following it, system administrators can achieve the best system performance.
Re-imaging works best on a new operating system. This avoids conflicts. Always use the latest drivers and apps for the best results with the Dell Optiplex 7010.
Benefits of Re-Imaging
Re-imaging brings many benefits to the Dell Optiplex 7010:
It gets rid of corrupt or damaged software.
It removes harmful software.
It ensures the system works well with Dell’s recommended software.
By using proven drivers and apps, it boosts system performance.
Re-Imaging Process
The re-imaging steps for the Dell Optiplex 7010 include:
Start with a new operating system and the latest drivers.
Back up important data to avoid losing it.
Carefully follow Dell’s re-imaging guide step by step.
Install the recommended software and settings from Dell, including all necessary drivers and apps.
After re-imaging, check the system’s performance and features.
Following Dell’s guide helps system administrators successfully re-image the Dell Optiplex 7010. This ensures a clean system with the best software and settings.
Installing Windows 10 from DVD or USB
Another way to get Windows 10 onto a Dell Optiplex 7010 is through a DVD or USB. This is perfect for those who have a Windows image ready on such devices. They may wish to either start fresh or upgrade their current system. Here’s how to do it:
Restart the computer and press F12 while it starts to enter the boot menu.
Choose the DVD or USB with the Windows image from the boot menu.
Agree to the license terms to move forward with the setup.
Delete old partitions to make room for the installation.
Pick the drive where Windows 10 will go.
Initiate the setup and wait for Windows 10 to install on your Dell Optiplex 7010.
By following these steps, installing Windows 10 using a DVD or USB on your Dell Optiplex 7010 becomes simple. Enjoy the new features and improvements of the operating system.
System Requirements for Installing Windows 10
Before you start, make sure your Dell Optiplex 7010 is up to the task of running Windows 10. The essentials include:
Processor: Must be 1 GHz speed or faster.
RAM: 1 GB for 32-bit systems or 2 GB for 64-bit.
Storage: Need at least 16 GB for 32-bit or 20 GB for 64-bit.
Graphics card: Should support DirectX 9 with WDDM 1.0 driver or later.
Display: Minimum resolution of 800×600.
Check that your Dell Optiplex 7010 matches or beats these requirements for a trouble-free installation and great performance of Windows 10.
Troubleshooting Installation Issues
If you face problems while installing, here are some tips to fix them:
– Make sure the DVD or USB drive is well connected and the computer recognises it.
– Check the integrity of the Windows image on your DVD or USB.
– Verify your Dell Optiplex 7010 meets the necessary system requirements for Windows 10.
– If installation errors occur, consult the Windows 10 error guide or contact Dell support for help.
These steps can help sort out common setup problems, allowing you to successfully get Windows 10 up and running on your Dell Optiplex 7010.
Common Installation Issues
Solutions
Installation freezes or crashes
Look into any hardware conflicts, update your drivers, or try a clean install.
Windows activation error
Check your product key is valid and activate Windows within the allowed time frame.
Incompatible software or drivers
Remove software that doesn’t work or update your drivers to the latest version.
The Dell Optiplex 7010 works with many solid-state drives (SSDs). You can boost your computer’s storage with these. SSDs come in sizes from 128GB to larger ones for all needs. They are fast and dependable.
For a new SSD, you need to reinstall your operating system. This makes sure everything works well right from the start. Also, don’t forget to tweak the BIOS settings for the SSD. This is crucial for making sure it works properly with your computer.
Dell provides tailored drivers and apps for the Optiplex 7010 and its SSDs. These are not just regular software. They enhance your computer’s features and performance.
Compatible SSD Models
Capacity
Samsung 860 EVO
128GB, 250GB, 500GB, 1TB, 2TB
Crucial MX500
250GB, 500GB, 1TB, 2TB
Western Digital Blue 3D NAND
250GB, 500GB, 1TB, 2TB
Kingston A2000 NVMe PCIe
250GB, 500GB, 1TB, 2TB
There are many SSDs that work with the Dell Optiplex 7010. For the best match, check Dell’s official advice or contact their support. This ensures the SSD fits your computer perfectly.
Choosing the right SSD and following Dell’s advice boosts your storage and speeds up your Dell Optiplex 7010.
Dell Support and Additional Resources
Installing Windows 10 on the Dell Optiplex 7010 is made easy by Dell. They give you all the support you need. This includes help with drivers, missing drivers, or installing the latest ones. Just head to Dell’s website for everything you need. They have a bunch of drivers and apps just for the Optiplex 7010.
Dell Digital Delivery makes it simple to get software you bought with the Optiplex 7010 back. This means no hassle with searching and downloading software again. Dell’s got it handled for you.
Dell offers a lot of ways to help you out. If you’re into social media, their team is ready on Facebook and Twitter. You can also go to their website. There, you’ll find lots of info and help for any install issues or troubleshooting.
Highlights of Dell Support and Additional Resources:
Access to a wide range of drivers and applications on Dell’s website
Dell Digital Delivery for convenient reinstallation of purchased software
Support available through social media channels (Facebook, Twitter)
Comprehensive resources on Dell’s website for installation concerns and troubleshooting
With Dell’s support and extra resources, installing Windows 10 on your Dell Optiplex 7010 is straightforward. Use their expertise for a smooth installation and to make your experience better.
Benefits of Dell Support and Additional Resources
How It Helps
Access to drivers and applications
Ensure optimal performance and compatibility
Dell Digital Delivery
Easily reinstall purchased software
Support through social media channels
Quick and responsive assistance
Comprehensive online resources
Troubleshooting and installation guidance
Remember, Dell is dedicated to providing top-notch support to help you through the installation process. Don’t hesitate to reach out for any questions or concerns you may have.
Troubleshooting and Tips for a Successful Installation
Installing Windows 10 on the Dell Optiplex 7010 is usually easy. But sometimes, you might run into problems. Here are some steps and tips to help make sure your installation goes smoothly.
Troubleshooting Installation Issues
Run into installation problems? Here’s what you can do:
Check the BIOS settings: Make sure they’re set up right for Windows 10. The boot order should prioritize your installation media, like a USB or DVD. Also, turn on or off any needed secure boot or compatibility settings.
Use the latest drivers and applications: Get the newest drivers and apps from Dell’s website. They often fix bugs and improve compatibility, which might solve your installation issues.
Verify hardware compatibility: Check that all your hardware works with Windows 10. You can find compatibility lists and recommended setups for the Optiplex 7010 on Dell’s website.
Contact Dell support: Still stuck? Get in touch with Dell’s customer support. They have more advice and solutions for your particular situation.
Tips for a Successful Installation
Want a smooth Windows 10 installation on your Dell Optiplex 7010? Try these tips:
Perform a clean re-installation: If you keep hitting problems, start fresh with a new installation of Windows 10. It might clear up software conflicts or corruptions.
Use an external media device: Sometimes, a USB drive or DVD ensures a smoother installation than other methods.
Create a backup: Always backup your important files before you start. This way, you can easily get your data back if something goes wrong during the installation.
Follow the installation instructions carefully: Read and understand the steps provided by Dell and Microsoft. Paying close attention helps prevent mistakes.
By tackling potential problems and following these tips, your chances of a successful Windows 10 installation on the Dell Optiplex 7010 go up. If you hit a snag, remember, Dell’s support team is ready to help.
Conclusion
Putting Windows 10 on your Dell Optiplex 7010 is simple. You can pick from several installation ways. Just follow the steps we’ve laid out for success.
Dell’s support site provides all the drivers and software you need. This makes your Optiplex 7010 work its best with Windows 10. It’s important to use the right drivers and keep them updated.
If you run into problems, don’t worry. Check the troubleshooting guide or contact Dell’s customer service. They’re there to help. With this guide, you’ll be all set to get Windows 10 up and running on your Dell Optiplex 7010. You’ll soon be enjoying all the new features and updates.
FAQ
What are the different methods for installing Windows 10 on the Dell Optiplex 7010?
You can install Windows 10 on the Dell Optiplex 7010 using USB drives or DVDs. Another way is re-imaging the system.
How do I install Windows 10 on the Dell Optiplex 7010 using external media?
First, plug in the media device. Next, choose your language and other preferences. Then, pick out the place to install Windows. Adjust your settings and set up a Microsoft account.
What is re-imaging and how can I use it to install Windows 10 on the Dell Optiplex 7010?
Re-imaging means wiping all software and starting fresh. It’s helpful if your software is not working properly. To re-image and install Windows 10 on the Dell Optiplex 7010, use Dell’s guide. It helps you put back Dell’s software, drivers, and apps tested for your computer.
How do I install Windows 10 on the Dell Optiplex 7010 from a DVD or USB?
Restart your computer and press F12 to see the boot menu. Choose your DVD or USB loaded with Windows. Follow steps to accept terms, clear old partitions, and pick the install location.
What solid-state drives (SSDs) are compatible with the Dell Optiplex 7010?
Several SSDs work with the Dell Optiplex 7010, from 128GB and up. After installing a new OS, re-image your computer. Check BIOS settings are correct. Dell also offers special drivers for the best SSD performance.
How can I access Dell’s support resources for installing Windows 10 on the Optiplex 7010?
Dell’s website has drivers and the latest software for your computer. You can also use Dell Digital Delivery for reinstalling purchased software. For more help, contact Dell on social media.
What should I do if I encounter issues during the installation of Windows 10 on the Dell Optiplex 7010?
If problems arise, check the BIOS settings and use the latest drivers. Make sure your hardware is compatible. Dell’s support website can also offer guidance. Try a clean re-installation or use an external media device if needed.
How can I successfully install Windows 10 on the Dell Optiplex 7010?
To install Windows 10 on the Dell Optiplex 7010, follow Dell’s instructions and use their support. Make sure everything’s compatible and you have the newest drivers. Troubleshoot any issues for a smooth installation process.
Do you get blue screen errors when installing Windows 10? Our guide offers reliable fixes for this issue. It covers the “pantalla azul al instalar windows 10” and stops errors…
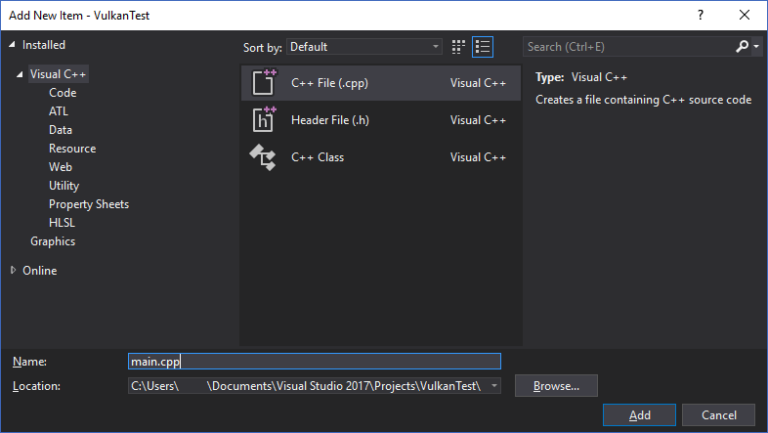
Welcome to our easy guide on installing Vulkan on Windows 10. Vulkan is a powerful graphics API. It improves high-performance 3D graphics and computing. If you’re into gaming or development,…
Choosing the right SSD with Windows 10 installed is key. Knowing what to look for can boost your system’s performance. This article will give you tips on picking the best…
Lab 12-1 offers a hands-on learning experience for installing Windows 10. It has step-by-step instructions. This makes setting up Windows 10 easy and understandable. Whether you’re new or experienced, you’ll…
Welcome to our guide on setting up Windows 10 on Hyper-V. If you want to test software, build a development space, or try new features, Hyper-V is ideal. We’ll show…
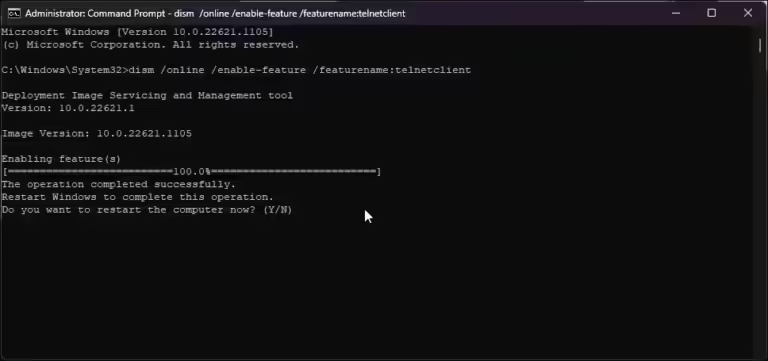
Learn how to install and enable Telnet on Windows 10 for remote access and fixing network problems easily. Use the command prompt or GUI. Telnet is an important network protocol….