RSAT tools are crucial for IT pros who manage servers. You can easily install RSAT on Windows 11 with PowerShell. This method is great for those who need flexibility and control.
Through PowerShell commands, you can pick and install specific RSAT tools. This lets you manage servers remotely from anywhere. It’s perfect for IT administrators or power users who want to improve their server handling on Windows 11.
This article will show you how to install RSAT on Windows 11 using PowerShell, step by step. We’ll also look at other ways to do the installation. Plus, we’ll cover the RSAT tools that can help you manage your servers better.
Installing RSAT Through Optional Features
In Windows 11, installing Remote Server Administration Tools (RSAT) is easy. You just use the optional features menu in the Settings app. This means you don’t need extra downloads or installations. It’s a simple way for IT admins to get the RSAT tools they need.
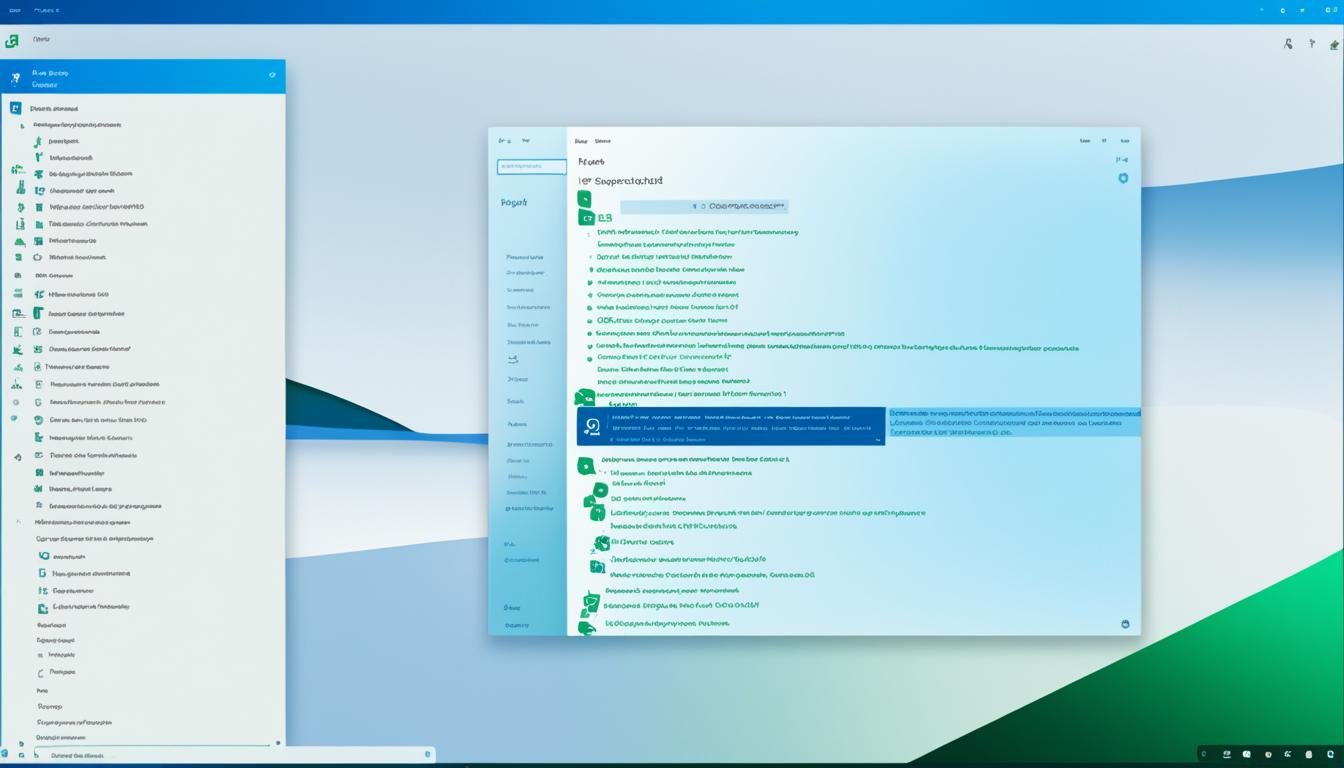
To start, go to the Apps section in the Windows 11 Settings app. Then, click on the Optional features page. Here, you’ll see lots of optional Windows features you can add.
Just type “RSAT” in the search bar on the Optional features page. Windows 11 will show you all the RSAT tools you can install.
Pick the RSAT tools you need from the list. Once you select them, Windows 11 will begin installing them. This integrates the tools right into your system.
You can check how the installation is going on the Optional features page. It tells you how things are progressing and how long it might take.
After everything is installed, you’re ready to use the RSAT tools. You can access them through the Settings app or their specific applications. These tools help a lot with server management.
Installing and using RSAT in Windows 11 is straightforward thanks to the optional features. This makes managing servers with these tools easier than before.
Installing RSAT Using PowerShell
PowerShell is an advanced way to install RSAT on Windows 11. It uses command automation for efficient installation of RSAT features.
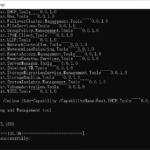
To install RSAT tools, open PowerShell with admin rights. Use the Add-WindowsCapability cmdlet to add RSAT features individually or all together. This offers custom installation options.
PowerShell also lets you check if RSAT tools are correctly installed. Use specific commands to confirm the installation status. This ensures all needed tools are in place.
This method gives IT admins more control during installation. Using PowerShell streamlines setting up RSAT on Windows 11. This improves managing remote servers.
PowerShell Commands for RSAT Installation:
To use PowerShell for RSAT on Windows 11, do the following:
- Open PowerShell as admin from the Start Menu.
- To install specific RSAT tools, use the command:
Add-WindowsCapability -Online -Name “RSAT.FeatureName”
Replace “FeatureName” with the name of the tool you want.
- To add all RSAT tools, run this command:
Add-WindowsCapability -Online -Name RSAT*”
The asterisk (*) means all RSAT tools will be installed.
- To check installed tools, use this command:
Get-WindowsCapability -Online | ? Name -like “RSAT.FeatureName”
Again, replace “FeatureName” with the tool you want to check.
By following these steps, installing RSAT on Windows 11 is smooth. It allows you to effectively manage servers from afar.
RSAT Tools Available for Installation
The RSAT package for Windows 11 comes with a lot of tools. These help IT administrators manage servers well. The tools cover a wide range of needs.
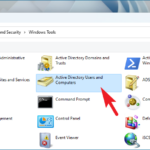
1. Active Directory Domain Services and Lightweight Directory Services Tools
These tools help in managing Active Directory and Lightweight Directory Services. Admins can manage users and groups. They also handle domain and directory service management.
2. BitLocker Drive Encryption Administration Utilities
Admins use these tools to control BitLocker Drive Encryption. This secures data by encrypting drives. It keeps sensitive info safe, even if the device is stolen.
3. Group Policy Management Tools
These tools help manage and apply group policies across devices and users. They ensure security and uniform settings. This makes managing IT policies easier and more consistent.
4. Remote Desktop Services Tools
These tools help with the remote control of servers and desktops. Admins can manage and troubleshoot systems from afar. This boosts productivity and cuts downtime.
5. Other RSAT Tools
RSAT for Windows 11 also has tools like DNS and DHCP Server Tools, Hyper-V Tools, and more. They handle many server admin tasks.
Installing the RSAT package lets IT admins use a suite of powerful tools. These tools make server management efficient and improve security. They also keep servers running smoothly.
Installing RSAT on Older Versions of Windows
If you’re using an older version of Windows, like Windows 8.1 or previous Windows 10 editions, RSAT can still be installed. Microsoft has made RSAT packages for these versions accessible through download links. Just download and run the right installer to activate RSAT on your computer. While installing may vary a bit, the main features work the same.
Getting RSAT on older Windows versions is simple, helping IT experts access RSAT’s strong tools. By using Microsoft’s guidelines to download the needed package, you can better manage servers. Though the installation steps might change slightly from Windows 11, RSAT’s main benefits are the same.
Keep in mind, RSAT for Windows 8.1 and older Windows 10 versions might need different system specs than the newest version. So, it’s wise to refer to Microsoft’s documents and ensure your system is compatible before you install.
Comparison of RSAT Installation Process
| Windows Version | Installation Method |
|---|---|
| Windows 11 | Optional Features or PowerShell |
| Windows 8.1 | Download and run specific RSAT installer |
| Windows 10 | Download and run specific RSAT installer |
This table shows how installing RSAT differs across Windows 11, Windows 8.1, and Windows 10. While Windows 11 lets you install RSAT through options or PowerShell, older versions need downloading and running specific installers. It’s crucial to use the right steps for your version to install successfully.
Regardless of your Windows version, RSAT is key for remote server management. By adding RSAT to your system, you unlock important features for effective server control.
Conclusion
Putting RSAT on Windows 11 is an easy task. You can do it through optional features or by using PowerShell. RSAT tools are now part of Windows 11, making it easier for IT pros.
You have two ways to install RSAT – via optional features or PowerShell. Both ways let you manage servers remotely.
PowerShell gives you a stronger, automated way to install RSAT. You can pick which RSAT tools to install, or do them all at once. This suits users who like a quicker, smarter install process.
RSAT is key for managing servers remotely. It’s vital for IT admins and advanced users. With lots of tools, like Active Directory and Group Policy Management, RSAT makes important tasks simpler. It’s useful on Windows 11 and older Windows versions too.
FAQ
Can I use PowerShell to install RSAT on Windows 11?
Yes, PowerShell can install RSAT on Windows 11. This method helps IT pros manage servers more easily.
How can I install RSAT through optional features on Windows 11?
To install RSAT on Windows 11, go to the Apps section in Settings. Then, access the Optional features page. Search for RSAT and pick the tools you want to install.
What is the advantage of using PowerShell to install RSAT on Windows 11?
Using PowerShell offers a smarter, automated way to install RSAT. It gives more control over the process.
What RSAT tools are available for installation on Windows 11?
Windows 11 has many RSAT tools. You can install things like Active Directory services and BitLocker Utilities. Group Policy and Remote Desktop services are also available.
Can I install RSAT on older versions of Windows?
Yes, RSAT can also be installed on older Windows like 8.1 or earlier Windows 10 versions. Microsoft has download links for these versions.
