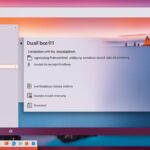
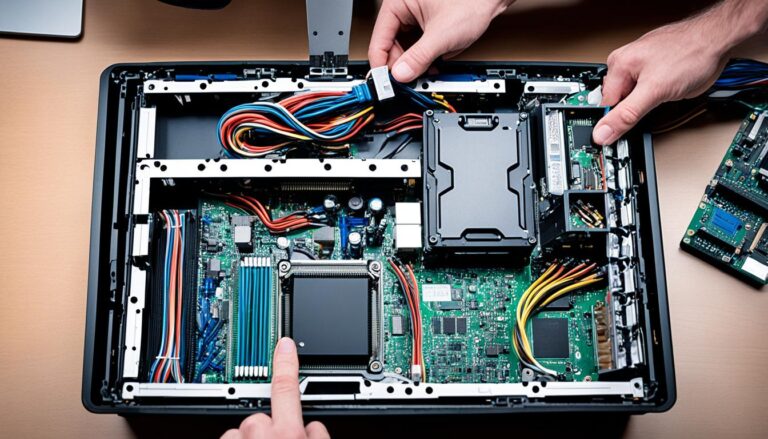
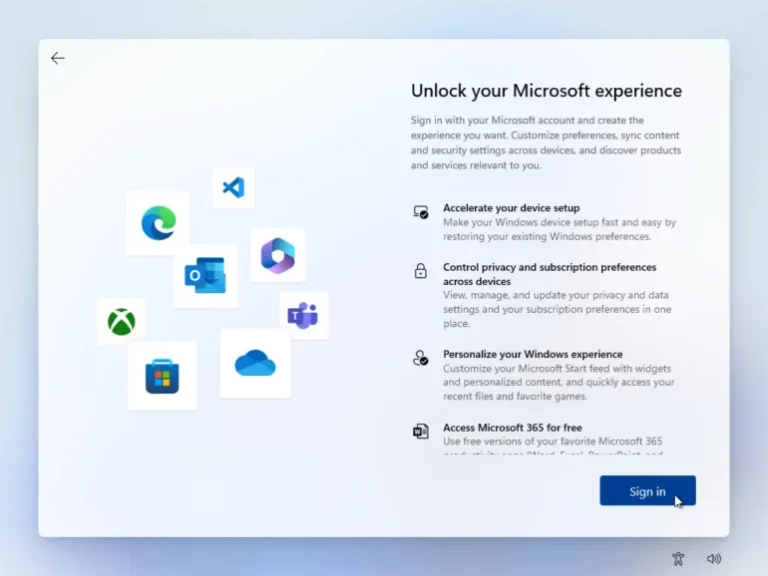
Welcome to our guide on how to install Ubuntu alongside Windows 11. This setup lets you enjoy the best of both worlds by switching between the two systems easily. It’s perfect for those who love having options.
We’ll show you how to prepare your PC for a dual boot. This means you can run Linux programs or use Windows whenever you need to. It’s a great way to have flexibility with your computer.
This guide covers everything from preparing your PC, making a Linux USB, to creating space for Ubuntu. We’ll also go through the installation process and how to switch between the systems. By the end, you’ll have Ubuntu and Windows 11 running smoothly on your computer.
Let’s dive into setting up Ubuntu with Windows 11 and make the most out of your computer. Ready to start? Follow this guide closely.
Preparing for Dual Boot
Getting ready to dual boot Windows 11 and Linux involves important steps. This guide will help you prepare for a smooth dual boot setup.
Checking System Requirements
Before you add Linux with Windows 11, make sure your computer is up to the task. Some Linux versions need certain hardware or software. Ubuntu, a favourite among users, requires a 2 GHz dual-core processor, 4 GB of RAM, and 25 GB of space.
Disabling Secure Boot
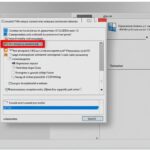
Secure Boot is a feature that checks if system software is trusted. But, it might stop some Linux versions from installing. If your Linux doesn’t work with Secure Boot, you’ll need to turn it off.
Here’s how to disable Secure Boot in Windows 11:
- Start your computer in Windows 11.
- Hit the Windows key + I to open Settings.
- Go to Update & Security.
- Click Advanced Startup then Restart Now.
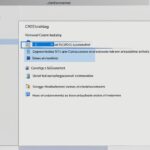
- At Advanced Startup, go to Troubleshoot > Advanced options > UEFI Firmware Settings. Then hit Restart.
- In the UEFI firmware settings, find and disable Secure Boot.
- Save your changes and leave the UEFI settings.
Turning off Secure Boot makes sure Windows 11 and Linux work well together. This makes for a smooth dual boot setup.
You’ve prepared your PC by checking requirements and disabling Secure Boot. Now, it’s time to make a bootable USB with the Linux version you want.
Creating a Linux Installation USB
To install Ubuntu with Windows 11, you need to make a bootable USB. You’ll use the Ubuntu ISO file for this. We will show you how to get the Ubuntu ISO, pick the right tool, and make a USB with Rufus.
Step 1: Download the Ubuntu ISO
First off, get the Ubuntu ISO file by following these steps:
- Open a web browser and go to the Ubuntu website.
- Find the “Download” section and pick the right Ubuntu version.
- Hit the download link and save the ISO file on your computer.
Step 2: Select a Conversion Tool
Next, choose a tool to make your USB bootable. We suggest Rufus for its simplicity and dependability.
Remember: Only download Rufus from the official website to stay safe from security risks.
Step 3: Create a Bootable USB Drive
After getting Rufus, do these steps to make your USB bootable:
- Put a USB drive into your computer.
- Launch Rufus and pick your USB drive in the “Device” menu.
- Press “Select” next to “Boot Selection” and find the Ubuntu ISO file.
- Make sure “Partition scheme” is “MBR” and “File system” is “FAT32”.
- Hit “Start” to begin making the USB bootable.
- Wait until Rufus finishes. It might take a bit.
When it’s done, your USB drive will be ready with the Ubuntu ISO for installing.
| Key Steps | Actions |
|---|---|
| 1. Download the Ubuntu ISO | Head to the Ubuntu website, choose the right version, and download the ISO to your PC. |
| 2. Select a Conversion Tool | Get Rufus from its official website for making a bootable USB. |
| 3. Create a Bootable USB Drive | Open Rufus, pick the USB and ISO file, set options right, and kick off the creation. |
Creating a Partition for Ubuntu
Getting Ubuntu onto your computer requires a separate partition on your hard drive. This spot will be for the Linux operating system. We’ll show you how to use Windows 11’s Disk Management tool. This helps shrink your current Windows partition, making room for Ubuntu.
To prep a partition for Ubuntu, follow these steps:
- Start by opening the Disk Management tool in Windows 11. Simply right-click the Start button and choose “Disk Management”.
- Look for your Windows partition. It’s usually the “C:” drive. Right-click it and pick “Shrink Volume.”
- Decide how much space to give Ubuntu. Remember, Ubuntu needs at least 25 GB. More space is better for extra software or files.
- Hit “Shrink” to resize the partition. This might take a while, depending on your partition’s size.
- Afterward, you’ll see unallocated space on the drive. You’ll install Ubuntu here.
Remember, shrinking your Windows partition won’t lose data. But backing up important files before changes is wise.
Determining the Appropriate Amount of Space for Ubuntu
Think about what you’ll use Ubuntu for when choosing space. For basic stuff like web surfing and watching videos, 25 GB is enough.
For heavy tasks like video editing or programming, more space is key. It ensures Ubuntu runs smoothly and has room for any extra software.
Creating a Partition for Ubuntu: Step-by-Step Video Guide
If you prefer watching to reading, check out our video below. It shows you how to create a partition for Ubuntu using Windows 11’s Disk Management tool. The video is easy to follow, helping you complete the steps.
“In the video below, you will find a detailed step-by-step guide on creating a partition for Ubuntu using the Disk Management tool in Windows 11.”
Note on Disk Management Compatibility
The Disk Management tool is part of Windows. Its look and features may vary by Windows version. But the main steps to create a partition are the same across versions.
Partition Creation Summary
Using these steps, the Disk Management tool in Windows 11 allows for easy partitioning. Knowing how much space to allocate and the process helps. This prepares you for installing Ubuntu alongside Windows, for a dual-boot setup.
| Benefits | Create Partition for Linux | Shrink Windows Partition | Allocate Space for Ubuntu |
|---|---|---|---|
| Enables multi-OS functionality | ✓ | ||
| Provides separation between operating systems | ✓ | ||
| Allows for customized space allocation | ✓ | ||
| Facilitates smooth installation process | ✓ |
Installing Ubuntu for Dual Boot
After making a partition for Ubuntu, let’s start installing it. We’ll show you how to boot Ubuntu from a USB drive. We will also help you select the right installation type. Plus, you will learn how to set up your Ubuntu profile. This ensures a smooth dual boot experience.
Booting Ubuntu from USB
First, you need to boot from the USB drive. Here’s what to do:
- Put the bootable USB drive into your computer.
- Restart your computer and press the key for the boot menu (like F12 or Esc) when it starts. Look at your computer’s manual if you’re not sure which key to press.
- Choose the USB drive as the boot option in the boot menu. This starts the Ubuntu installation.
Selecting the Installation Type
After booting from the USB, pick the right installation type. Here’s how:
- Select your language on the Ubuntu installation screen and click “Install Ubuntu”.
- The next screen asks you to choose the installation type. Pick “Install Ubuntu alongside Windows boot manager”. This ensures a good dual boot setup.
- Click “Continue” to go on with the installation.
Setting Up Your Ubuntu Profile
Before installing, you must set up your Ubuntu profile. Do it like this:
- You’ll need to make a profile. Enter a username, password, and computer name.
- Then, click “Continue” to start the Ubuntu installation.
- Complete the installation by following the on-screen steps.
After installing, you can use both Windows 11 and Ubuntu on your computer. This gives you the choice of the operating system you need at any time.
Always save your important work before changing your computer’s operating system. This prevents data loss.
Keep reading to find out how to switch between Windows 11 and Ubuntu with ease.
| Tip | Additional Resources |
|---|---|
| Ensure you choose the right boot option to avoid going straight into Windows without installing Ubuntu. | Official Ubuntu Installation Guide |
| If you can’t get to the boot menu, look at your computer’s manual or the maker’s website for help. | How to Boot from a USB Drive in Windows (Dell Support) |
| Not sure how to partition or allocate space for Ubuntu? Check the official documentation or get professional help. | Official Ubuntu Installation Documentation |
Switching Between Operating Systems
After you finish setting up, you can switch easily between Windows 11 and Ubuntu. The setup lets users move smoothly between them, depending on what they need. To switch, just follow these easy steps:
- Dual Boot Restart: Begin by restarting your computer.
- Choose Operating System: As it starts, a menu will show. This lets you pick the operating system. Use the arrow keys to look through the menu.
- Switching OS: Select Windows 11 or Linux with the arrow keys. Then press Enter. Your computer will start with the operating system you chose.
The dual boot makes it simple to use Windows 11 and Linux. It’s perfect whether you’re after specific software or like using different systems for various tasks. Switching is hassle-free.
Advantages of Dual Booting
Dual booting Windows 11 and Ubuntu can greatly improve your computer use. It offers numerous advantages.
Flexibility
Dual booting means more flexibility. You can use Windows 11 or Ubuntu, depending on the task. This is great for gaming, using apps, or software development. Being able to switch systems offers great versatility.
Performance
Dual booting can give better performance than using a virtual machine. It allows the system to use all resources for the active OS. This boosts performance and responsiveness, letting you get the most from each OS.
Compatibility
It also solves compatibility issues. Some software only work on Windows 11 or Ubuntu. Having both systems means you can use any software without issues. This is key for niche or industry-specific tools.
Security
With dual booting, your data is safer. Each OS is kept separate, lowering data leak risk. Malware or issues stay isolated to one OS. This protects your entire system.
| Advantages of Dual Booting | Description |
|---|---|
| Flexibility | Increased flexibility in using operating systems for specific tasks |
| Performance | Superior performance compared to running a virtual machine |
| Compatibility | Access to software exclusively available on one operating system |
| Security | Enhanced security by keeping data separate between systems |
Dual booting is a smart choice for anyone needing different OS benefits. It offers flexibility, performance, compatibility, and security. Users can be more productive and enjoy using Windows 11 and Ubuntu to their fullest.
We will now look at how to switch between Windows 11 and Ubuntu after setting everything up.
Conclusion
Dual booting Windows 11 and Ubuntu lets you enjoy both systems on one computer. This guide has shown how to set them up side by side. It also highlights the benefits of dual booting.
By using this guide, you can easily switch between Windows 11 and Ubuntu. Each system has its own strengths. Windows is great for compatibility, while Ubuntu offers flexibility.
Dual booting is better than using a virtual machine because it’s faster. It lets you use programs made for just one system without extra hassle.
Dual booting Windows 11 and Ubuntu is smart for work, fun, or trying new things. This guide helps you start this exciting tech adventure. Both operating systems have a lot to offer.
FAQ
Can I install Ubuntu alongside Windows 11 for dual boot?
Yes, Ubuntu can be installed with Windows 11. This allows you to have both systems on one computer. You can then choose which one to start.
Do I need to disable Secure Boot for dual booting Windows 11 and Ubuntu?
You should disable Secure Boot in Windows 11 for some Linux distros. This makes sure your dual boot works well.
How do I create a bootable USB drive with the Ubuntu ISO file?
First, download the Ubuntu ISO file. Then, use a tool like Rufus to make the USB drive bootable for Ubuntu.
How do I create a separate partition for Ubuntu?
Use Windows 11’s Disk Management to shrink Windows’ partition. This creates space for Ubuntu. You can then allocate space for Ubuntu’s installation.
What are the steps to install Ubuntu for dual boot?
Start by booting from the USB drive. Choose to install Ubuntu alongside Windows. Follow the on-screen instructions to set up your Ubuntu profile.
How do I switch between Windows 11 and Ubuntu after installation?
Restart your computer and pick the system you want from the boot menu. This makes it easy to switch between them.
What are the advantages of dual booting Windows 11 and Ubuntu?
Dual booting lets you use both systems for different tasks. It’s better than a virtual machine in performance. It also keeps your data separate, increasing security.
Where can I find a comprehensive installation guide for dual booting Windows 11 and Ubuntu?
This article is a detailed guide for dual booting with Windows 11 and Ubuntu. It includes steps and benefits of such a setup.


